Civo Compute with Terraform
Lets get started with civo compute manually and with terraform.
Hey Everyone in this blog i am going to Discuss how we can create compute instance in Civo Cloud Step by Step. So let's get Started.
Understanding need
So we know that we have to create a compute instance on civo cloud by the help of Terraform. But what do we need to create that?
Let's gather our need.
We need Terraform installed in our local machine. Check Terraform version on your machine
terraform versionWe need a civo cloud account
We need to know how to create a compute instances manually so that we have an idea what are the minimum requirements to create an instance.
And basic knowledge of writing terraform code.

That's it if we have these things ready we are ready to go.
Create Instance Manually
I believe that before automating anything with the help of code we must know how to do that stuff manually so that we can have the Idea what we need or what we have to do.

So let's get started and create a compute instance manually
Step 1 :- Login to your civo account
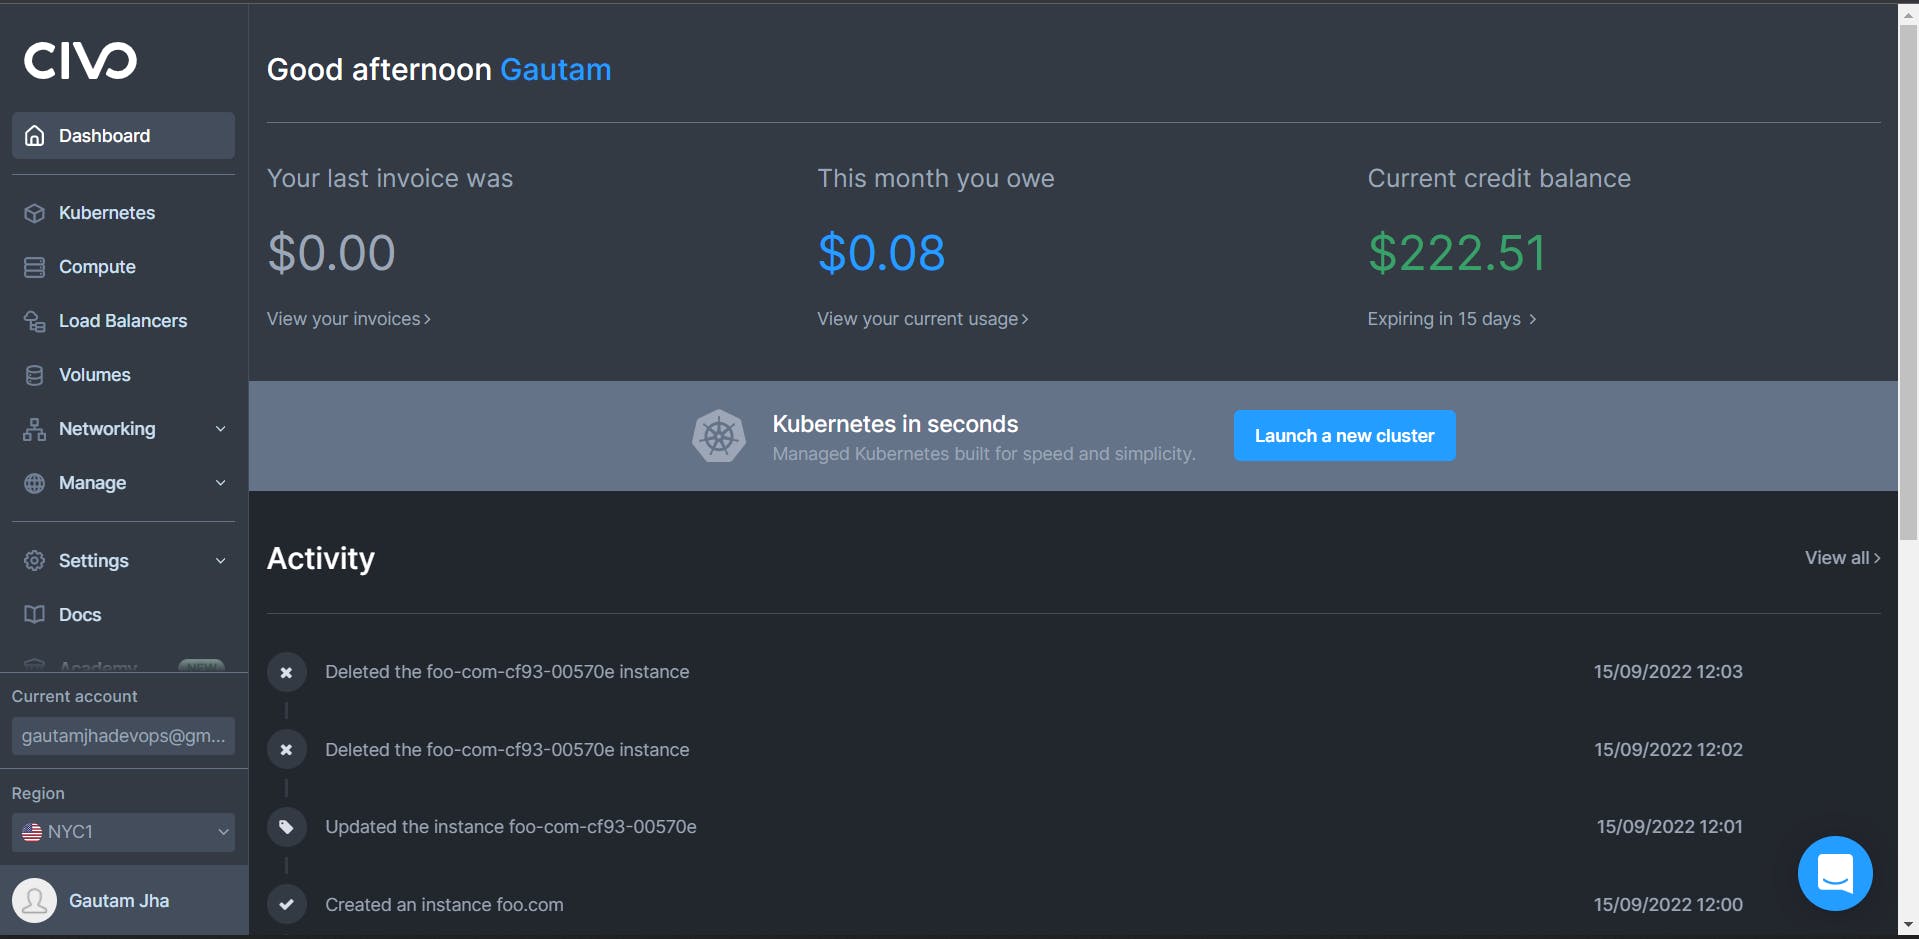
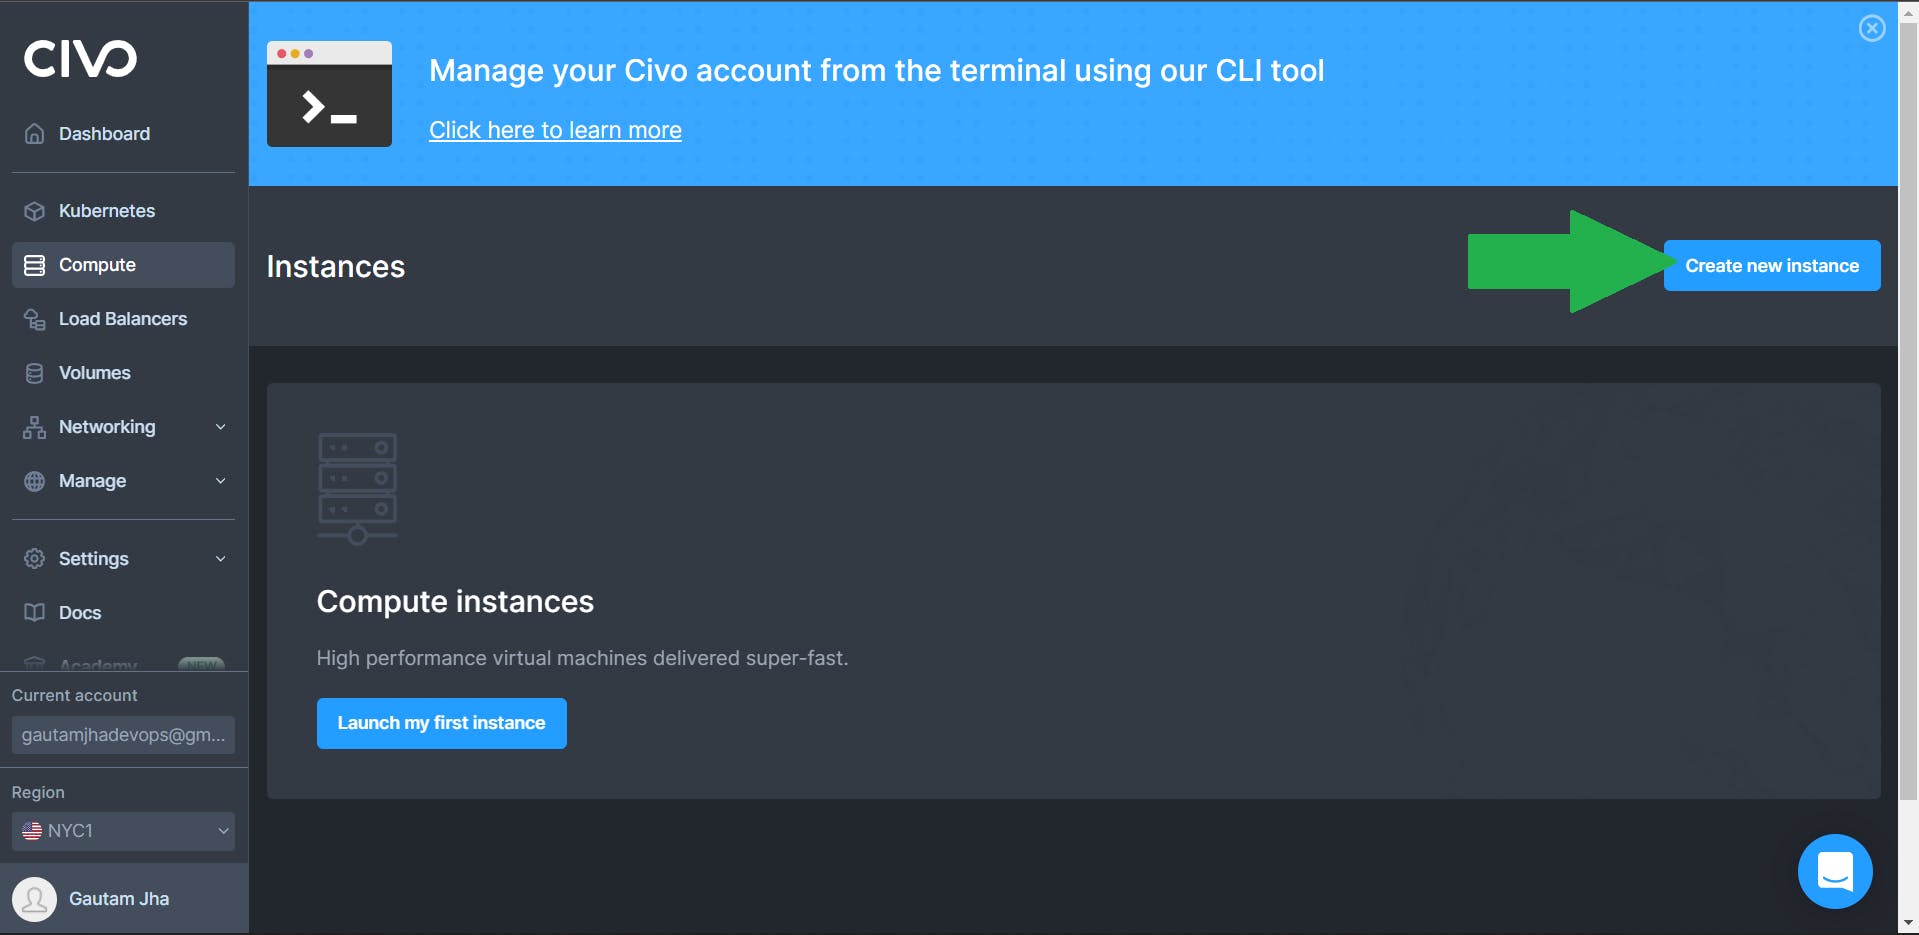
Step 2 :- Navigate to compute from left side
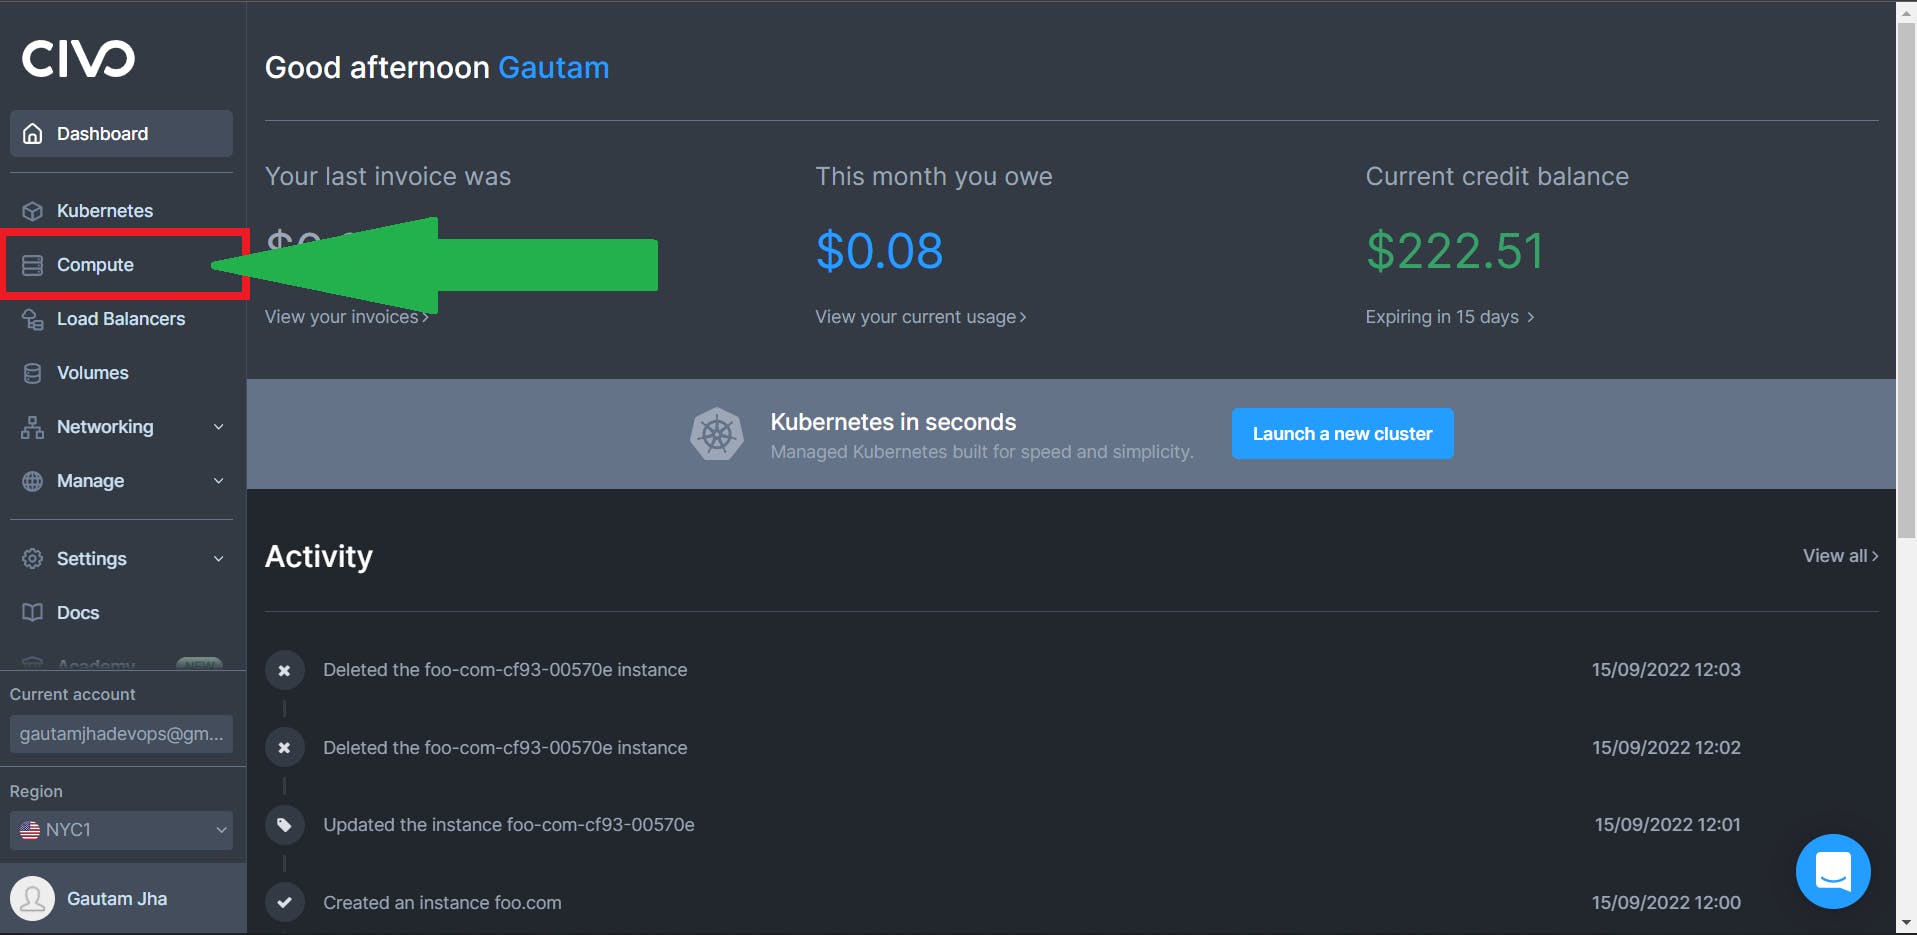
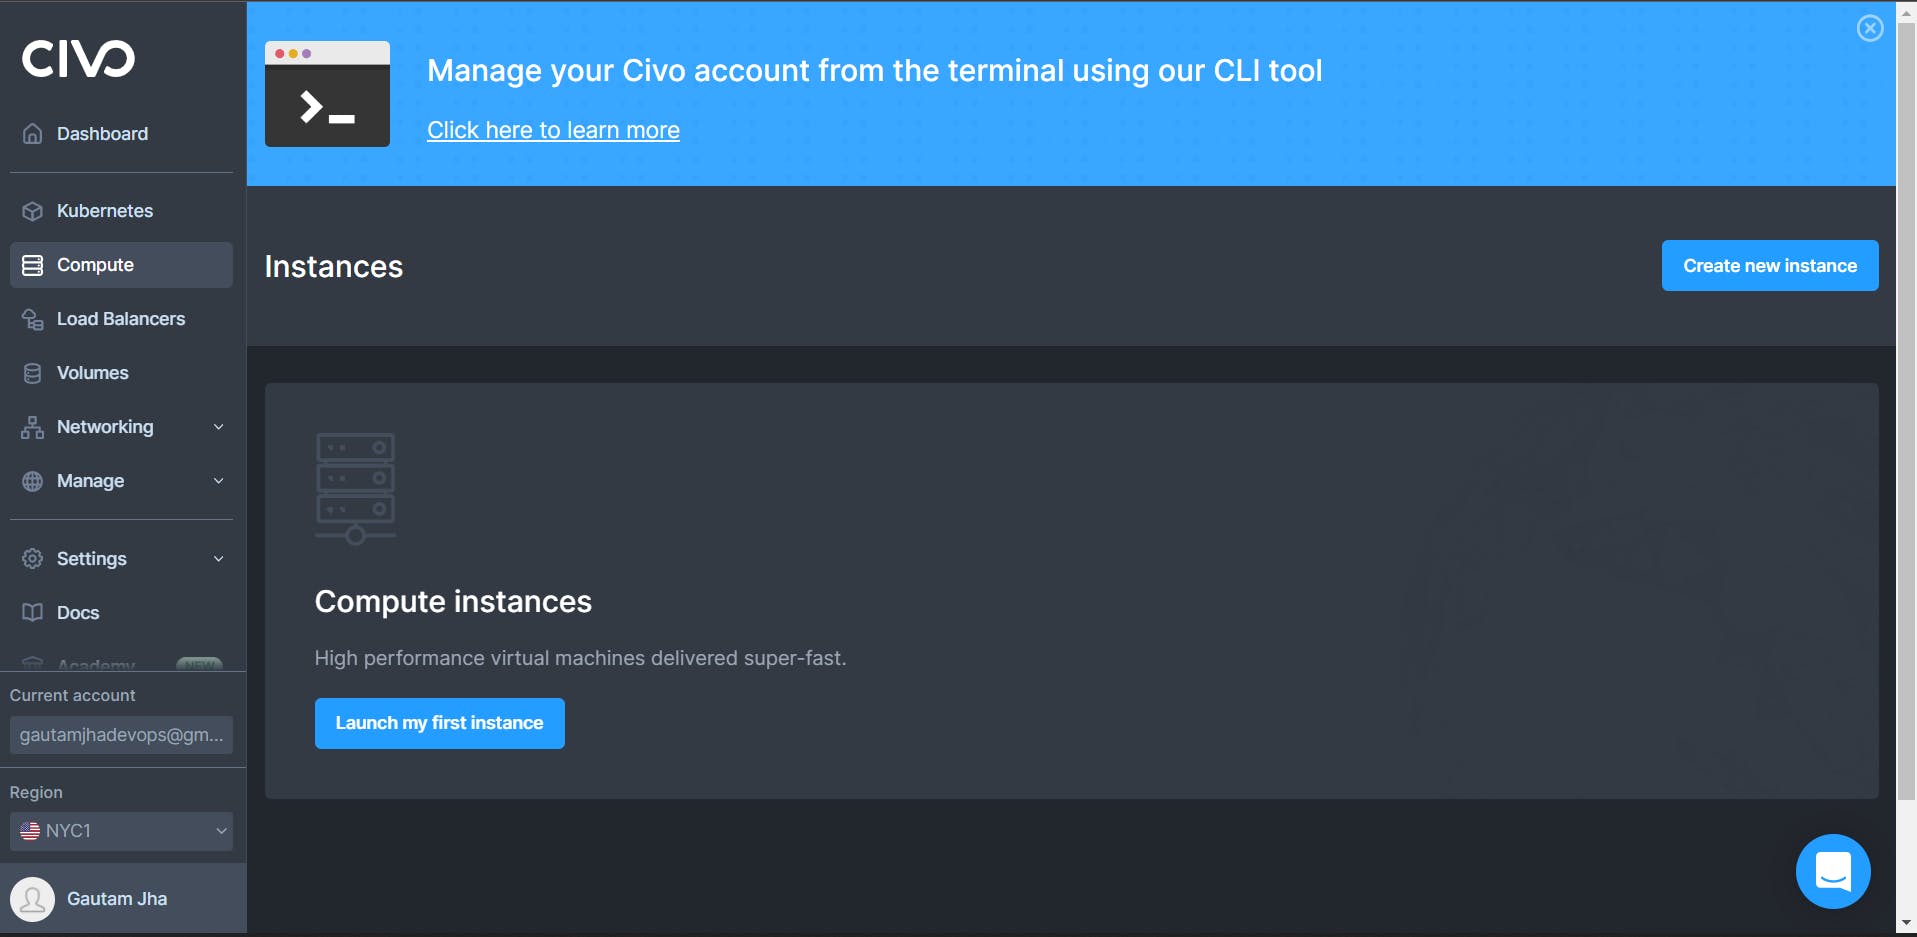
Step 3 :- Click on Create new Instance from right side
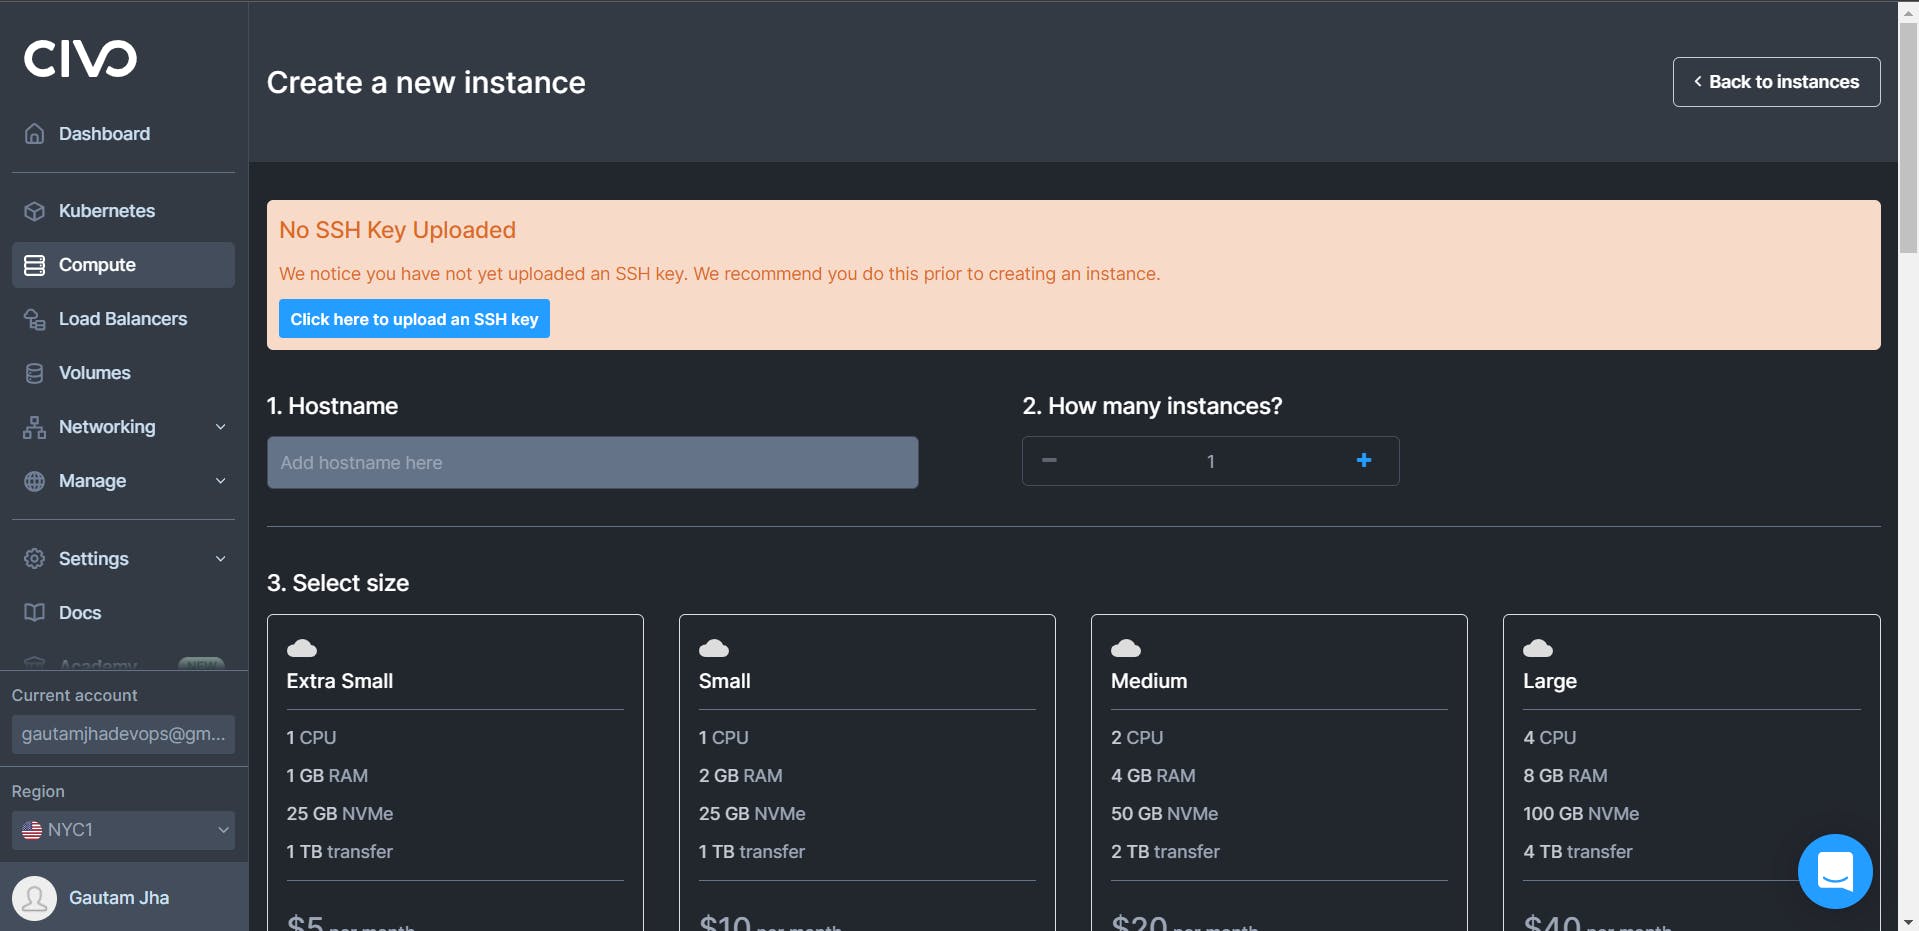
Step 4 :- Now Select The region where you want to create instance from left side down
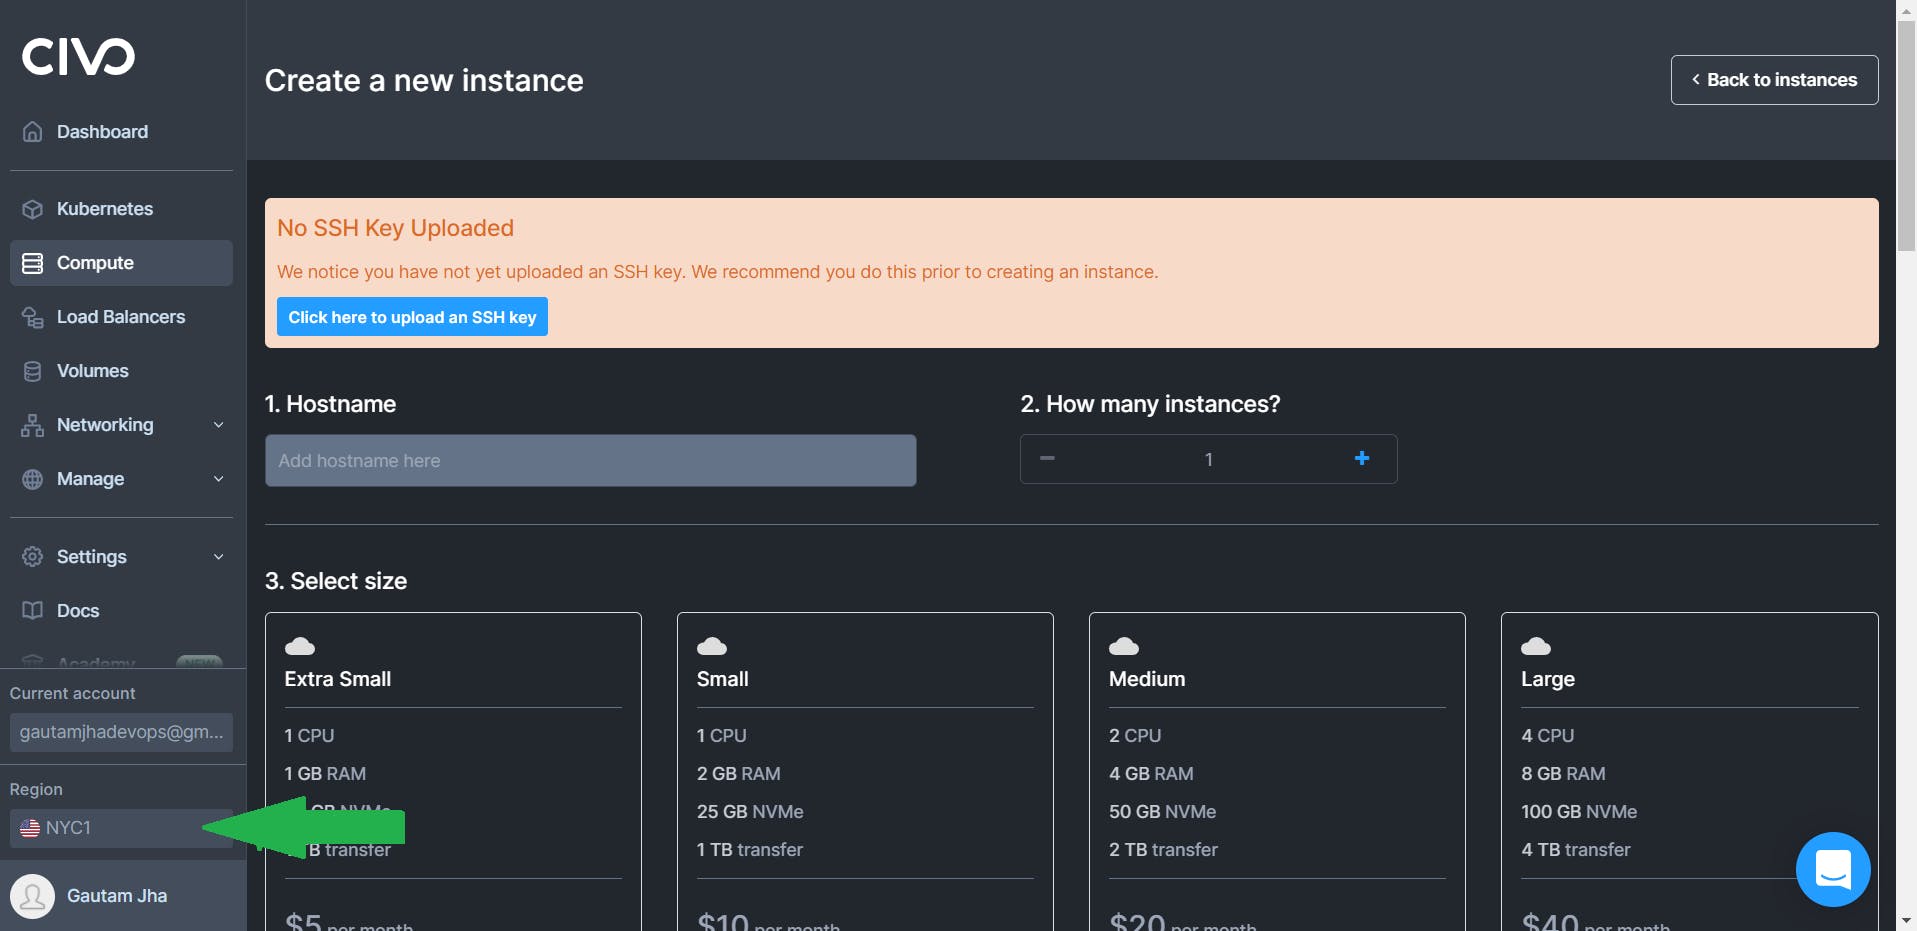 I am using NYC1
Step 5 :- Now time to setup the instance name, number of instances, size, Image, initial user, network, Public Ip Address, Firewall, SSH keys, Initialization Script, and Tags.
- I gave name as
My-First-Instanceand instance number as1

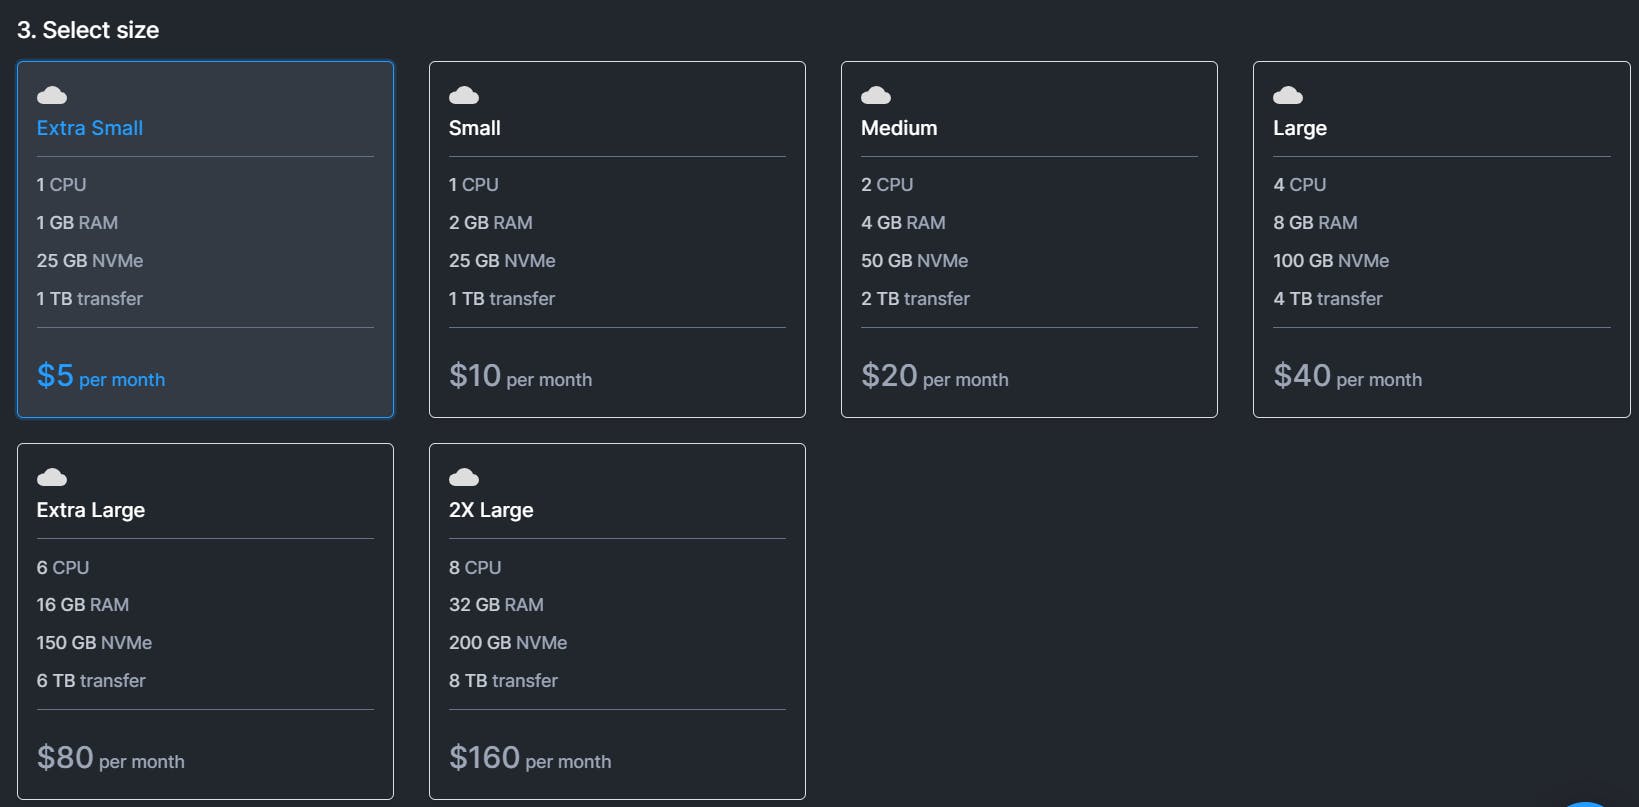
- I select instance size as
extra small
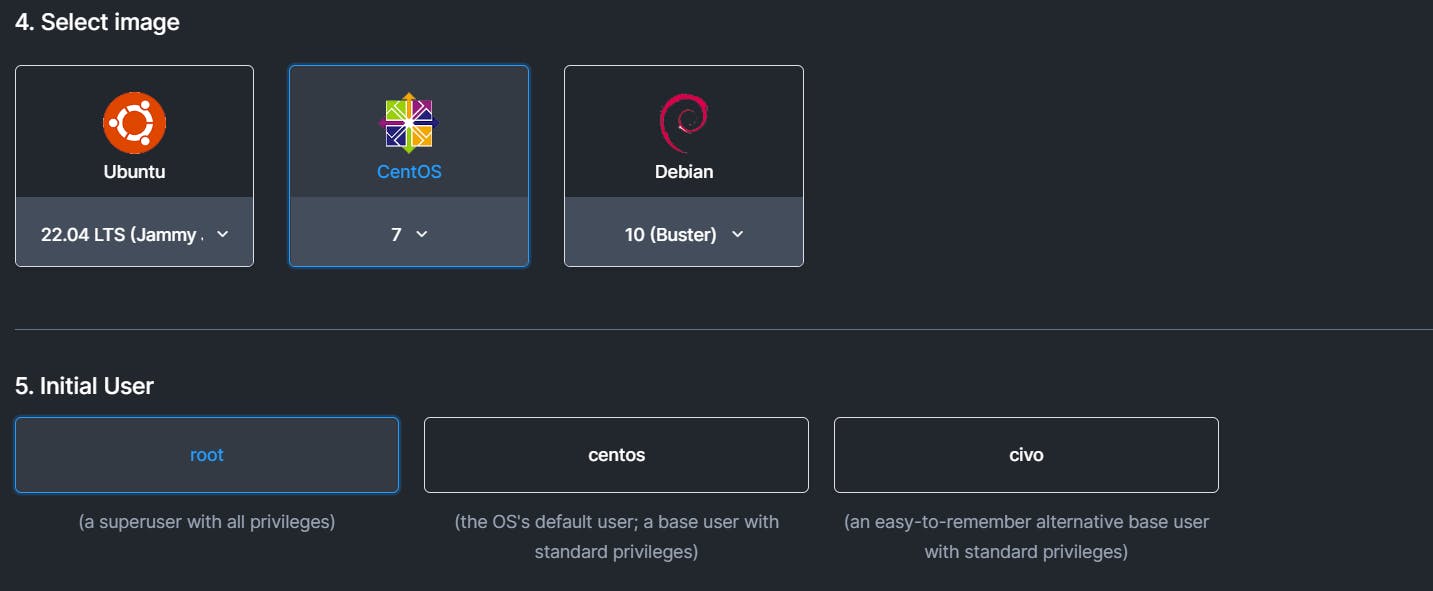
- I am selecting Image
CentOs 7and initial user asroot
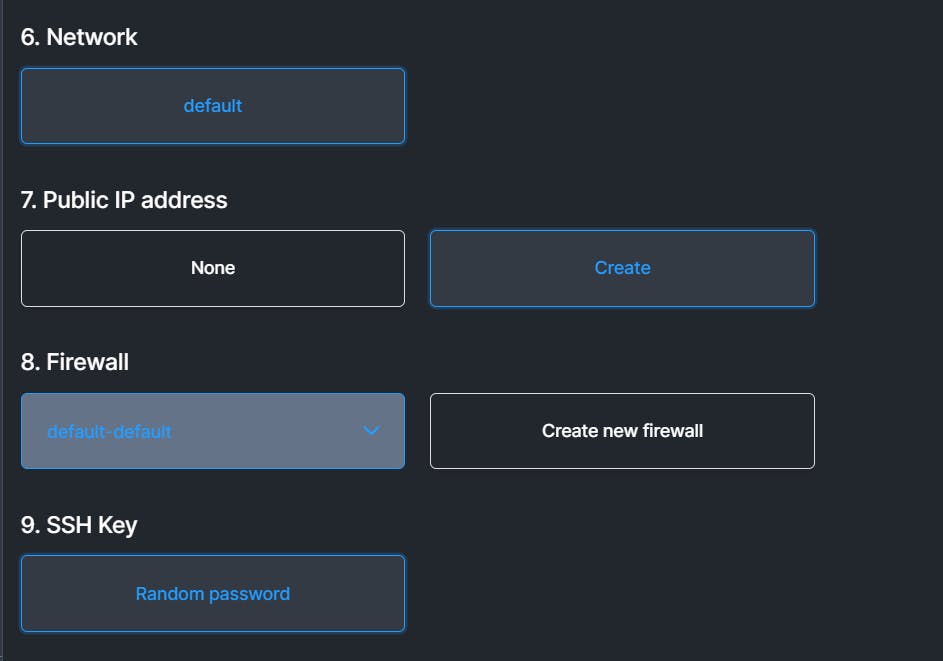
- Selecting Network as
DefaultPublic IP address ascreateFirewall asdefault-defaultand SSH Key asRandom Password
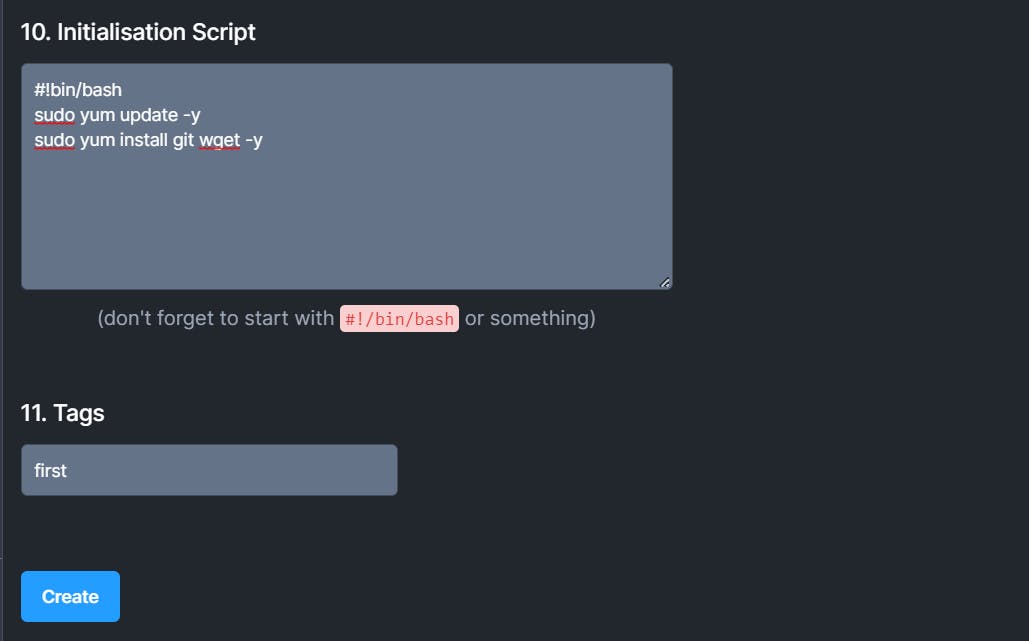
- In Initialisation Script i am running a bash script
#!bin/bash
sudo yum update -y
sudo yum install git wget -y
This script update all packages and install git and wget package
- And at last giving tags as
first
Step 6 :- Click on create button you instance will be created in few seconds
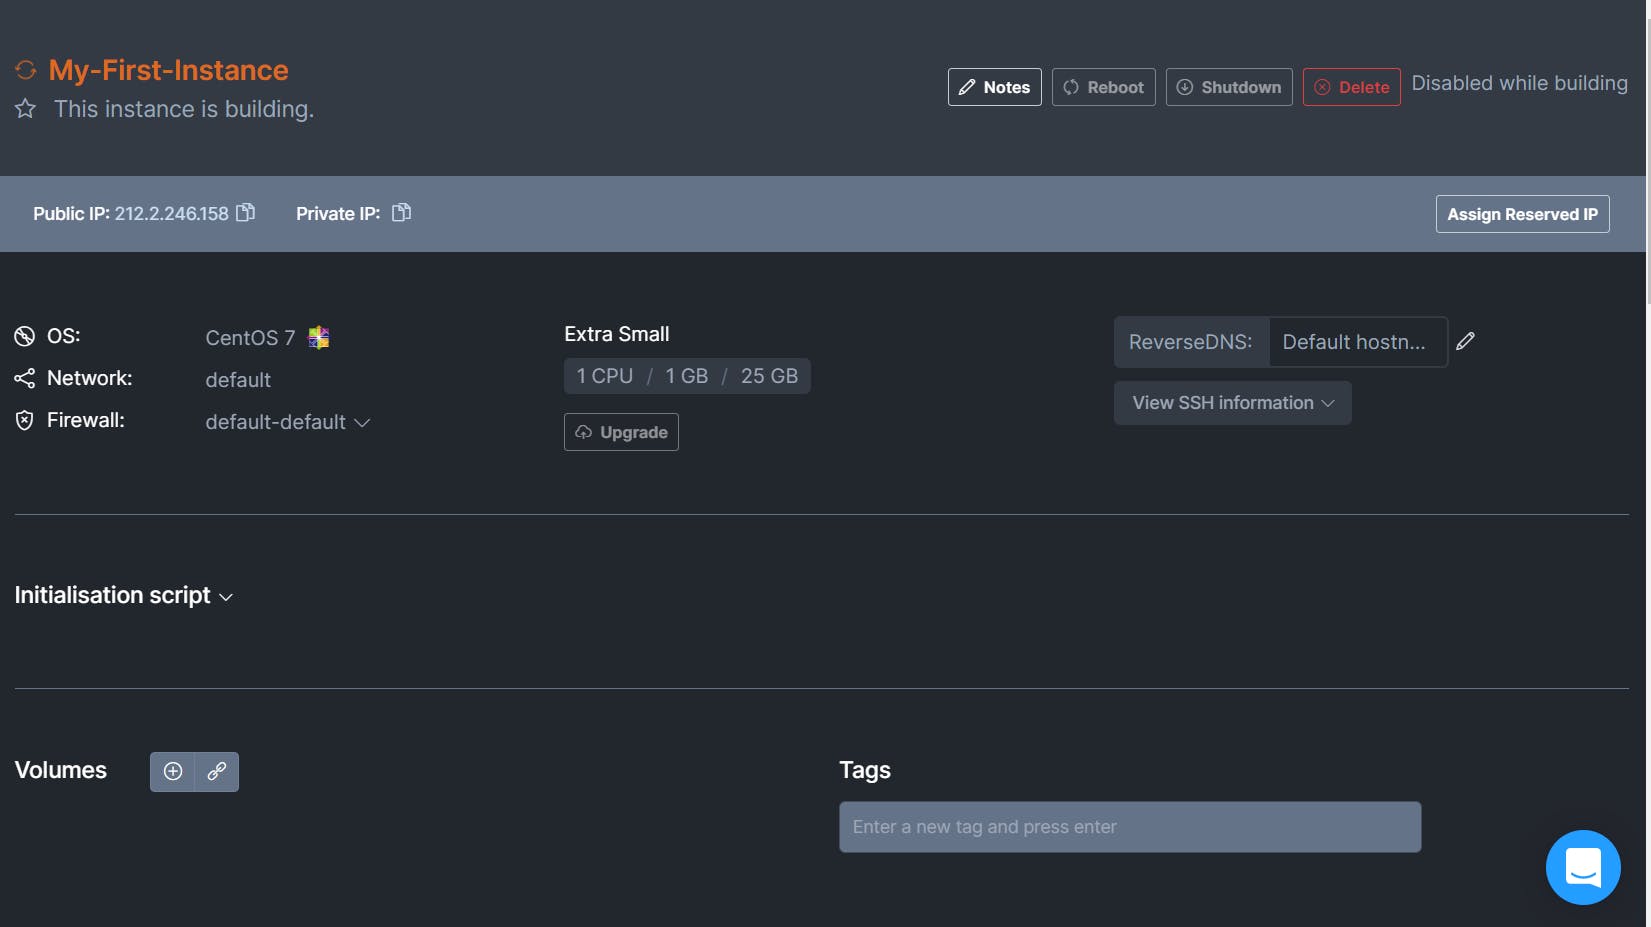
After few seconds our instance will be up and running
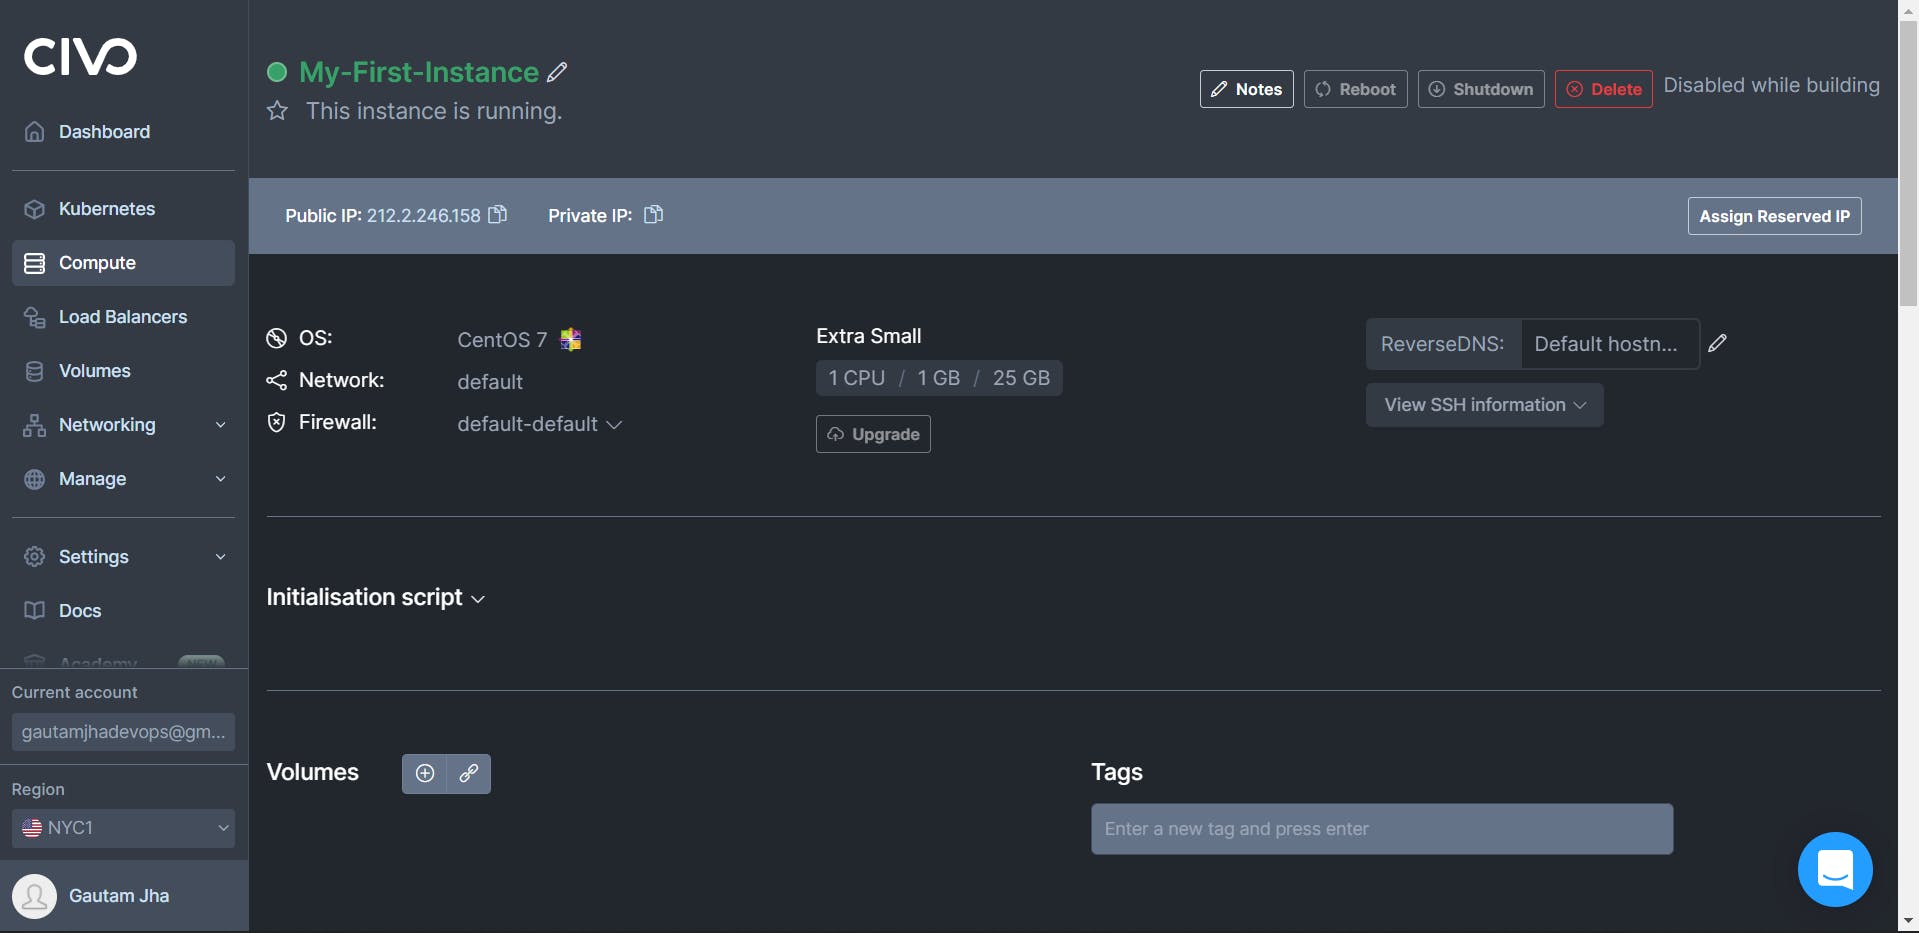
SSH into Instance
We can Use instance terminal by using SSH command
Step 1 :- Open a terminal, I am using Git Bash
Step 2 :- Use ssh username@public_ip_of_instance to enter into instance terminal
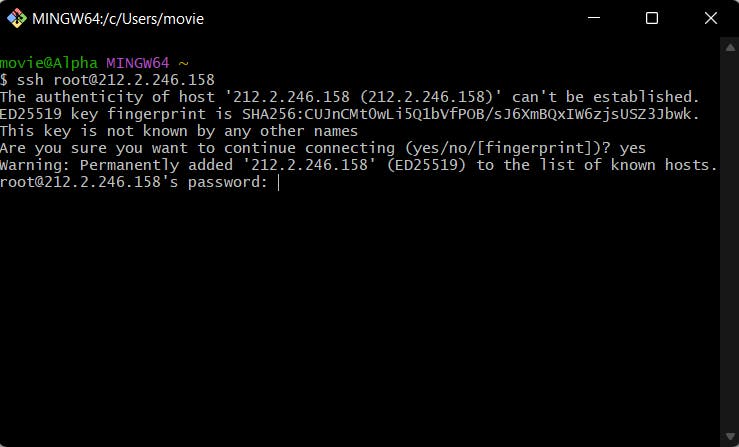
Step 3 :- For password copy initial password which you can view in View SSH Information.
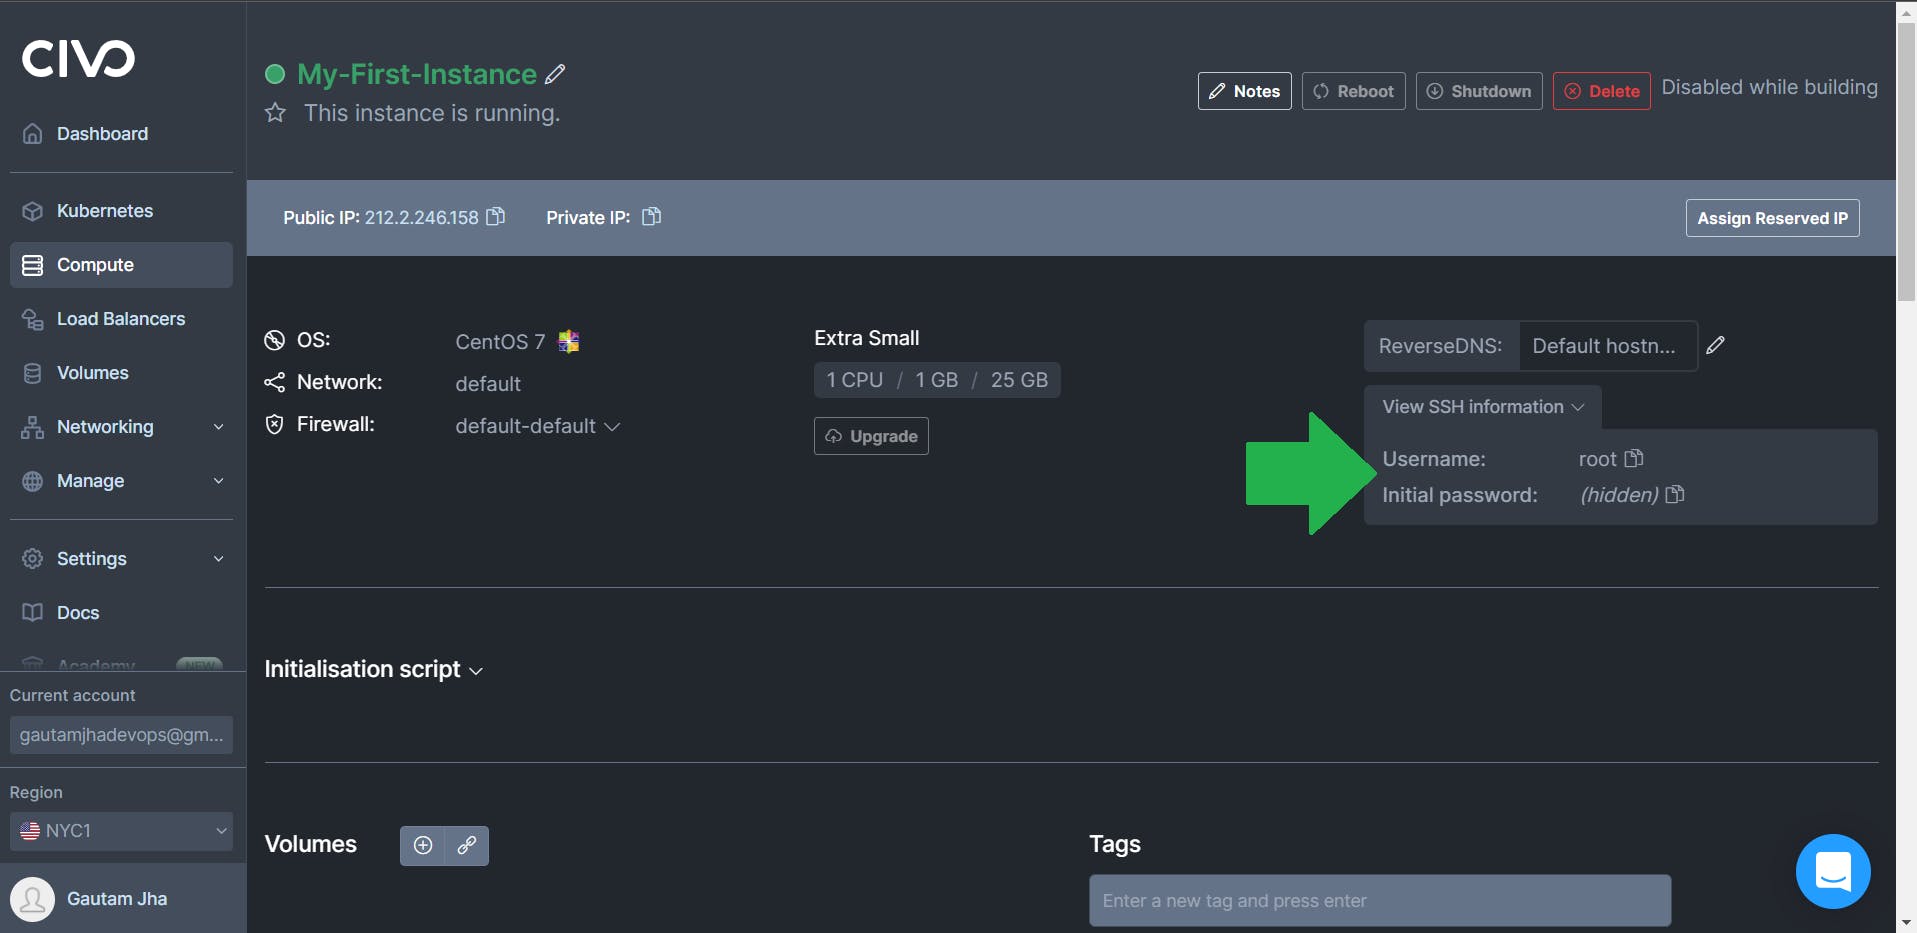
Step 4:- Copy the initial password and paste it in the terminal (in my case git bash)
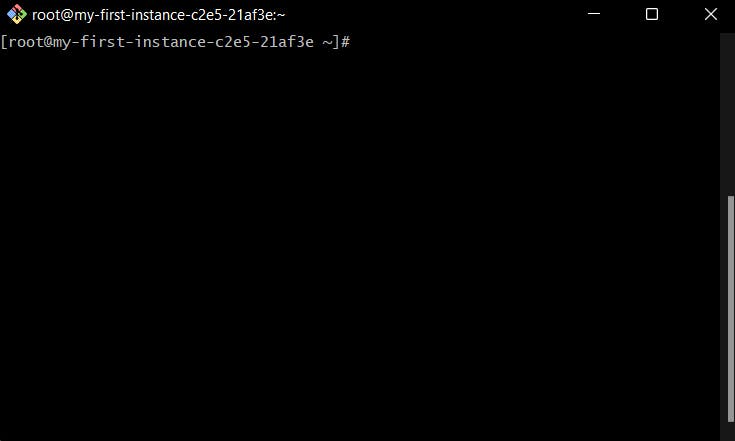
Step 5 :- Now you are inside instance terminal check for git and wget is installed or not as we mentioned in the Initialisation Script
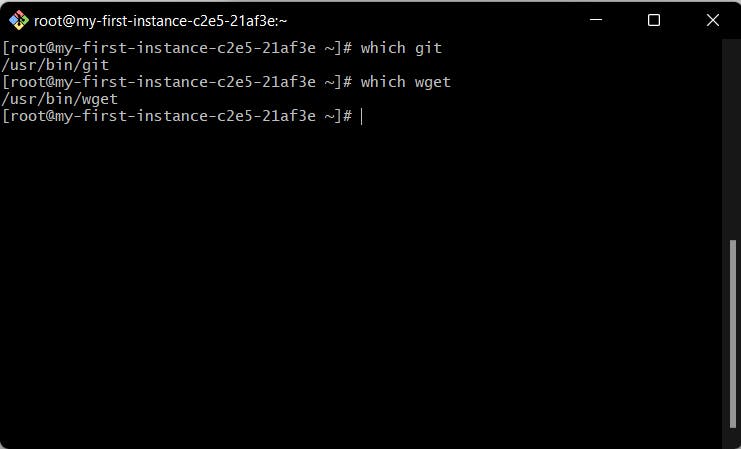
That's it we have configured our compute instance manually.
Step to Terraform
Now we know how to spin up cluster manually but now we can use terraform to spin up the same cluster. So let's get started
Step 1 :- Configure provider.
To Create a cluster manually we need to login to civo account as same as that we have to tell terraform that we want to work with terraform and we need to provide authentication of our civo account to terraform so that it can make changes
Create a file
provider.tfwith code :-
terraform {
  required_providers {
    civo = {
      source = "civo/civo"
      version = "1.0.23"
    }
  }
}

provider "civo" {
  token = "<Your-Civo-API-Key>"
  region = "NYC1"
}
Now let's deep dive into the code
Here terraform block specify which provider we want to work with and with which version. This block is used to download the civo plugin when we hit terraform init command.
Q :- How do we know what to write in source and version
Ans :- Source is just like path of the provider You can find the civo provider terraform registry. And the version is also can be find on this terraform registry website.
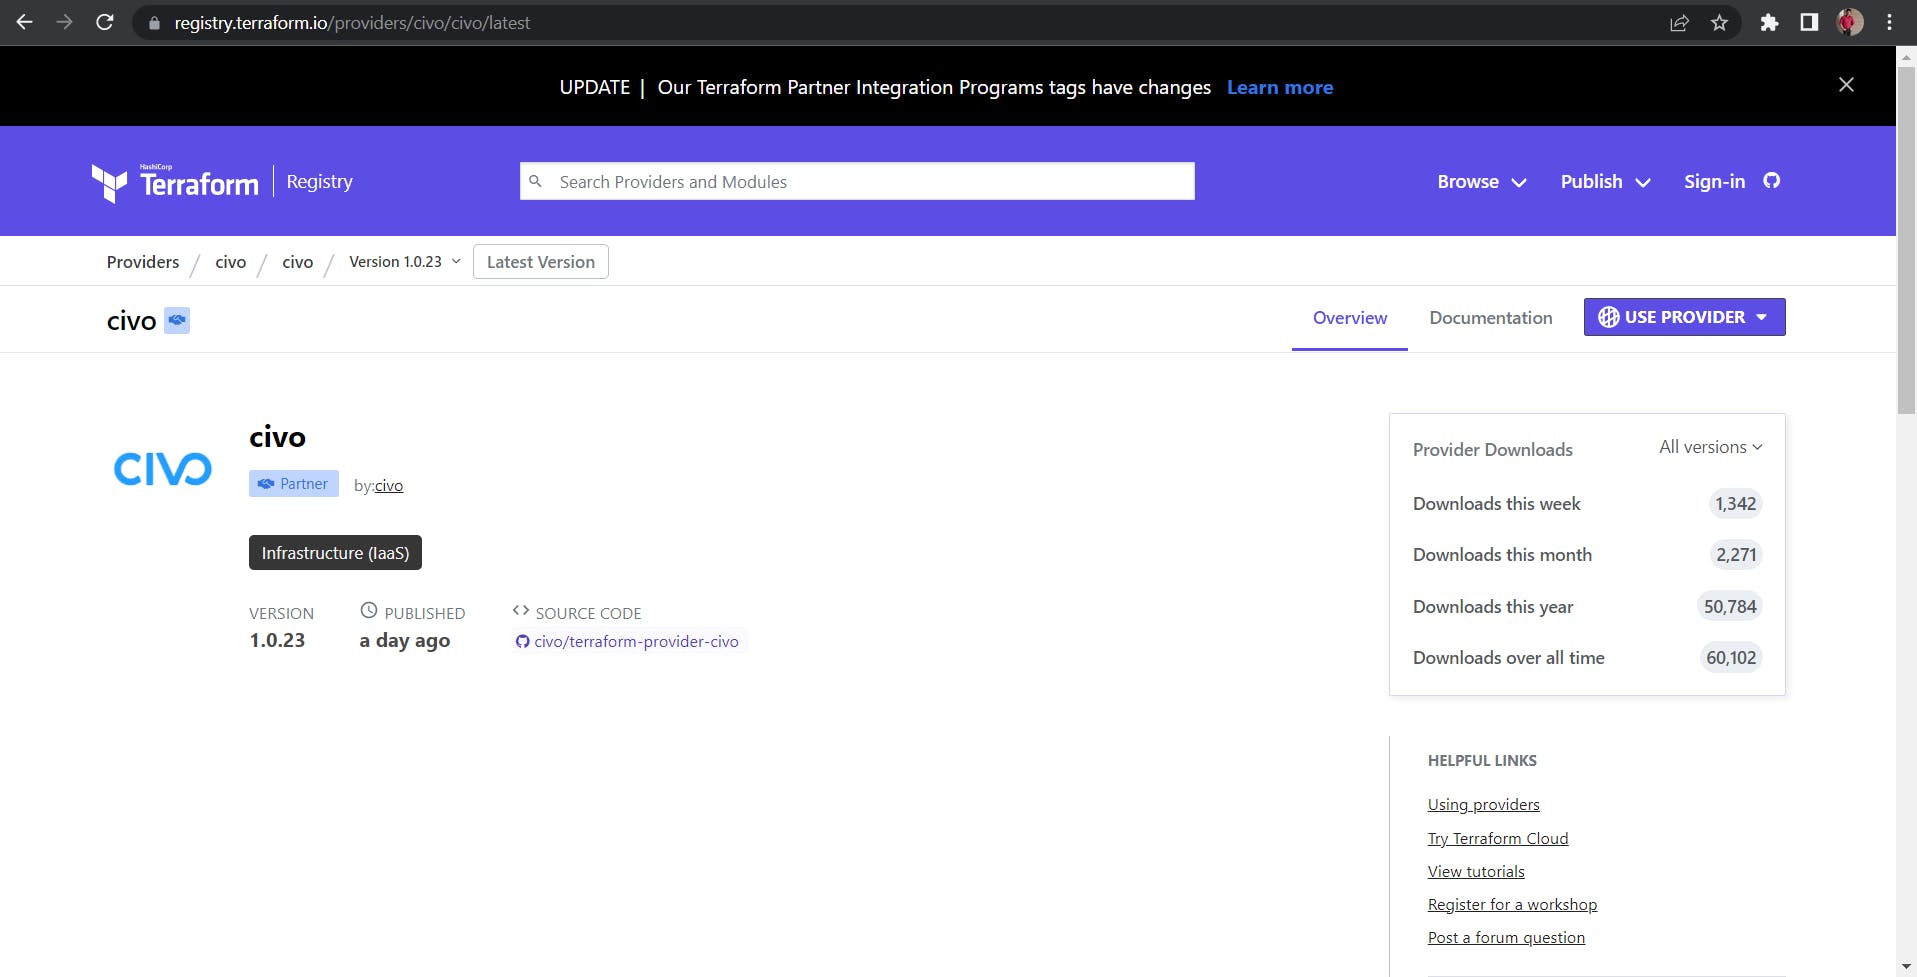
The latest version when writing this blog is 1.0.23
token is used to provide the API Key so that terraform can make changes in you civo account. you can find your API key on Account security setting
region is used to mention that in which region we want to create our resources.
Now we understand the code lets initialize using terraform init
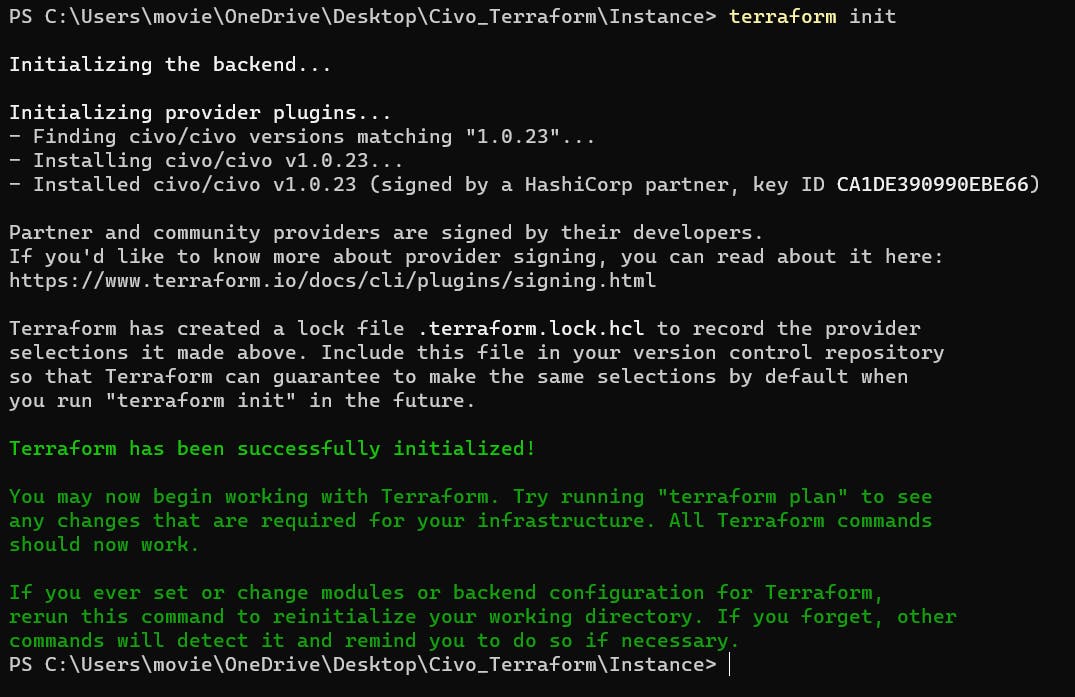
terraform init downloaded civo plugin from terraform registry
Step 2 :- Create another file main.tf in this file we actually define our compute resource.
- First we need to tell terraform to we want to create instance and give hostname and number of instance
resource "civo_instance" "tf-first" {
  count = 1
  hostname = "my-instance"

}
- Now we have to define size of instance. and the image
resource "civo_instance" "tf_first" {
  count = 1
  hostname = "my-instance"
  size = "g3.xsmall"
  disk_image = "centos-7"

}
Q :- How do we know about the size
Ans :- We can use this table

- Now we have to set up initial user for login purpose
resource "civo_instance" "tf_first" {
count = 1
hostname = "my-instance"
size = "g3.xsmall"
disk_image = "centos-7"
initial_user = "root"
}
That's it we can now apply these changes and create an instance
Step 3 :- Run terraform plan to see the changes terraform is going to made
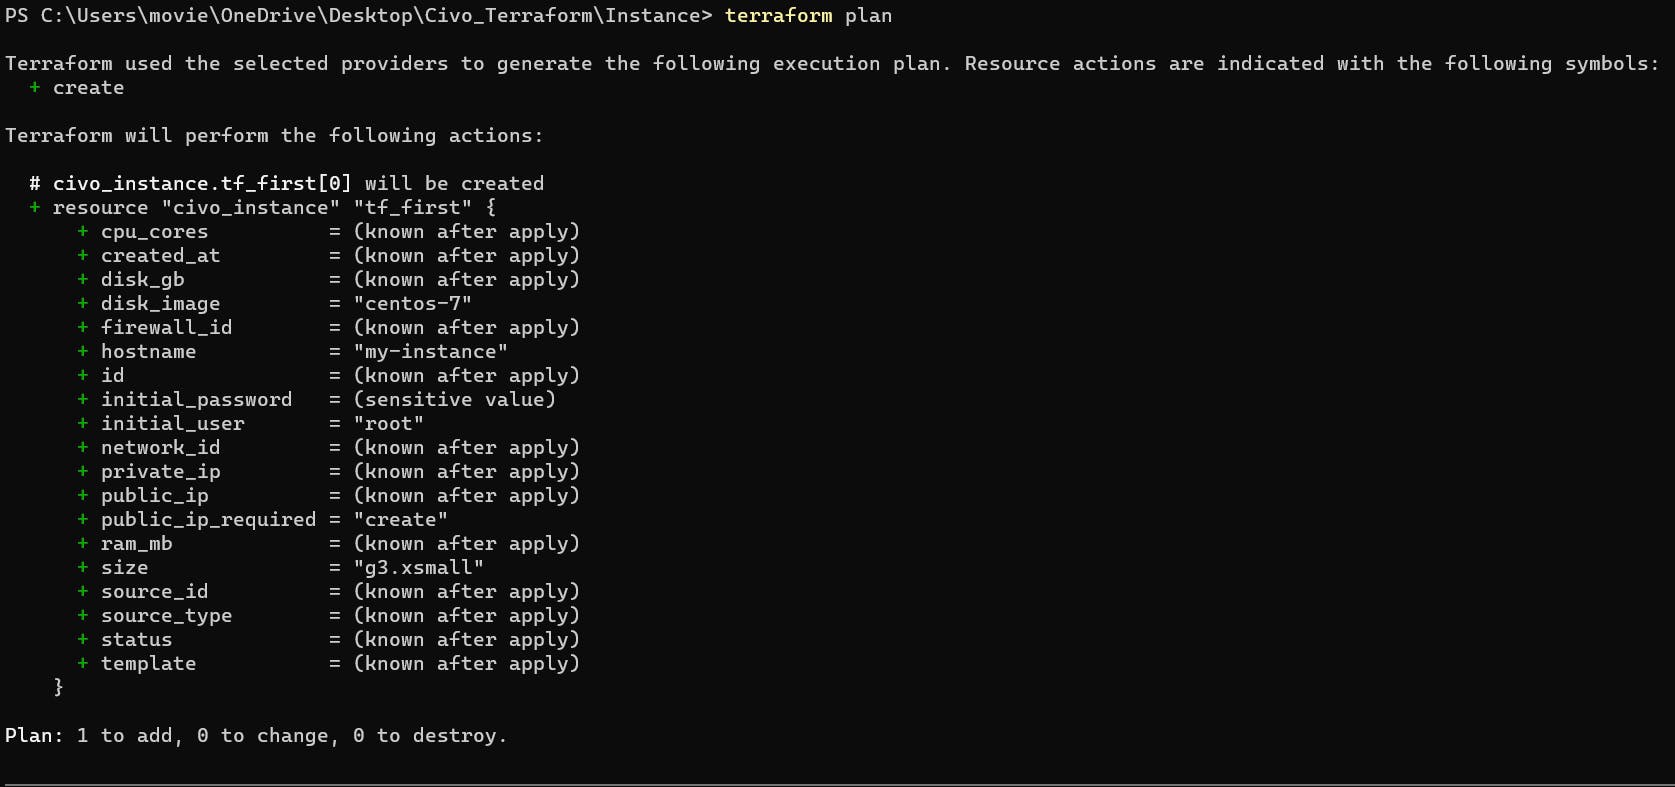
Step 4 :- Run terraform apply to made changes in the cloud
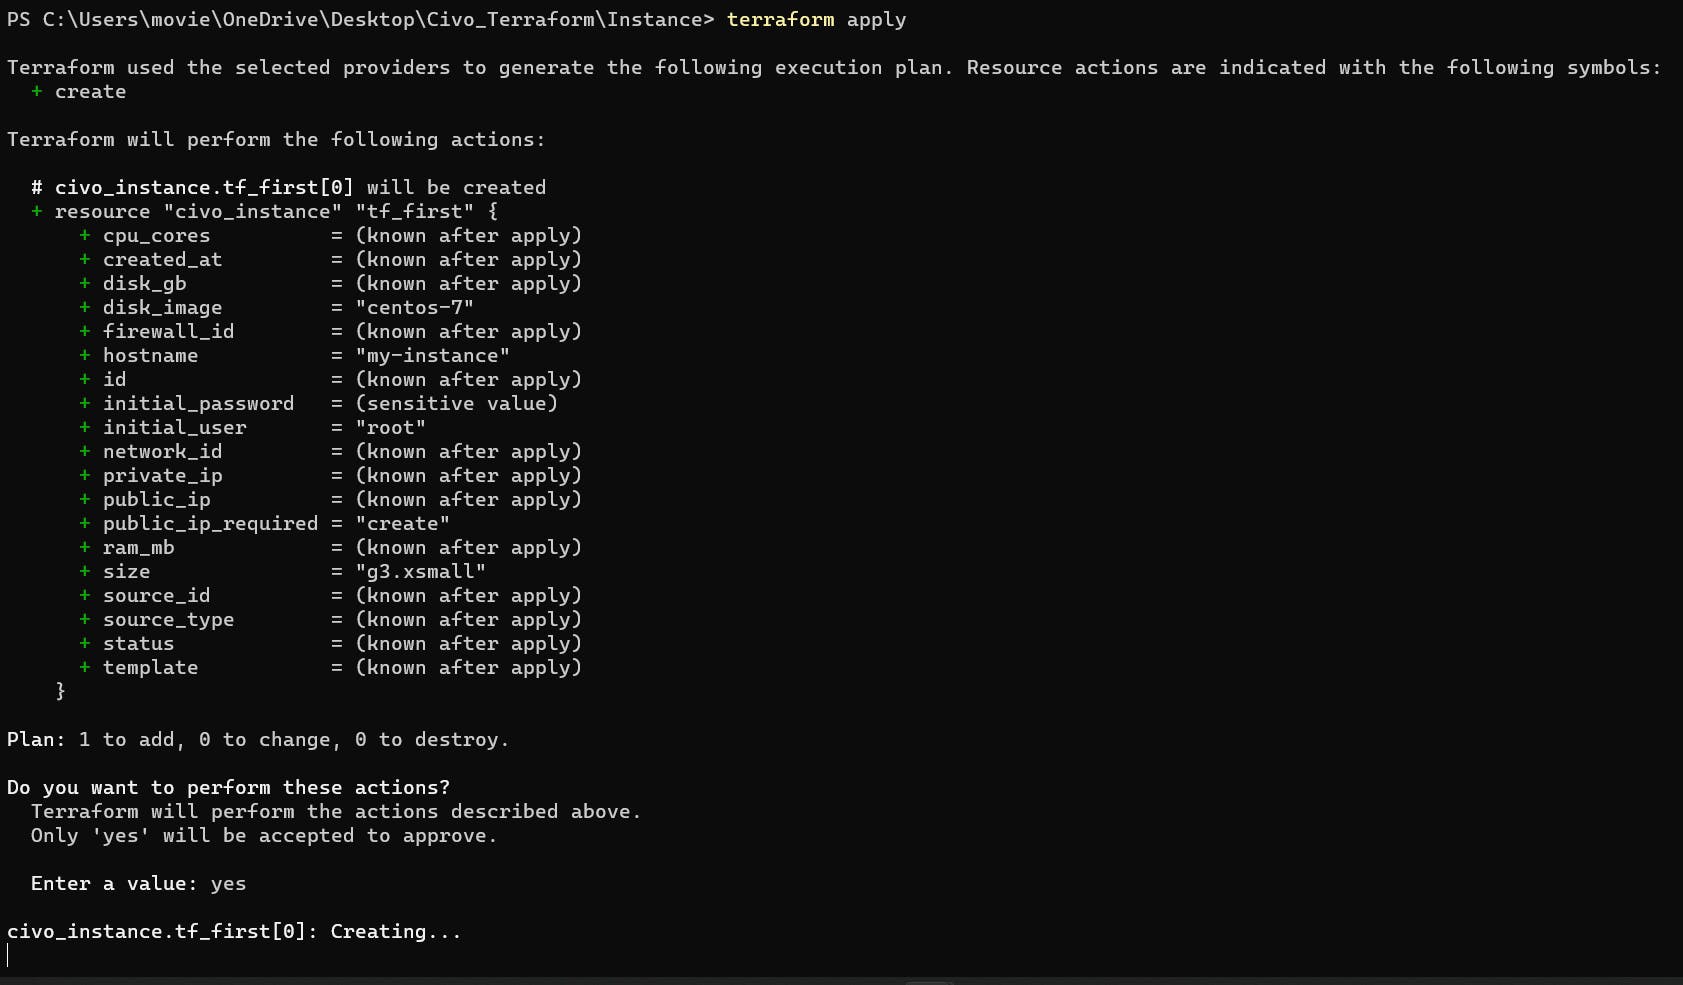
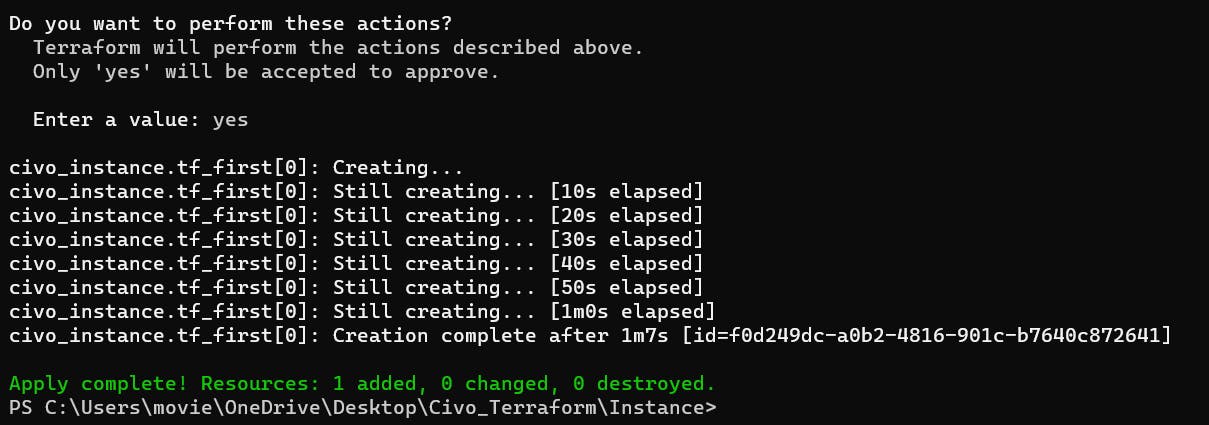
Changes are applied now check on civo cloud compute dashboard
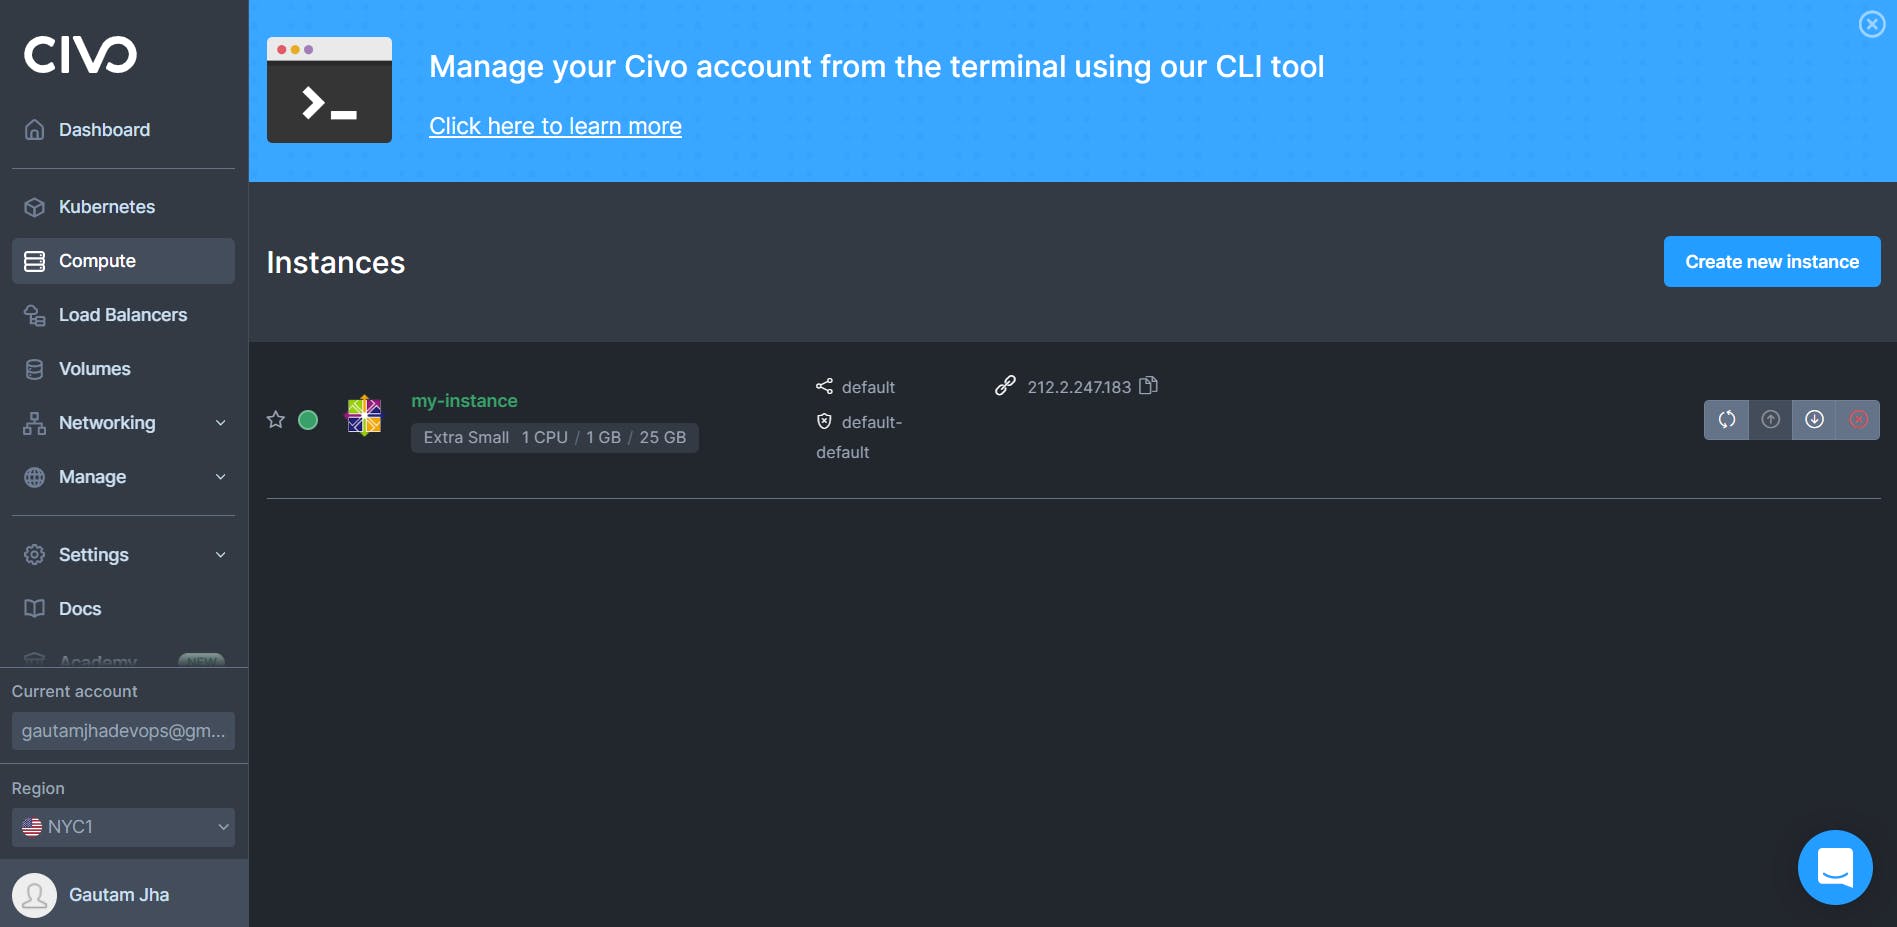
As we can see the instance is created now we can SSH into the machine and use it.
We can SSH as the same way mentioned above.
That's it for this blog.
Thank You for Reading 😊😊
