


Introduction
Stop manually creating images and start using packer.
Building images for both cloud and on-prem infrastructure can be a long, tedious process. I have spent many hours watching a progress bar as i install frameworks and tooling to support applications on the cloud. As frameworks update and security patches are needed, images must be rebuilt. By using HashiCorp packer we can automate this process. and run it from CI tools such as Jenkins. We can install the build templates and source control and build new images upon each template change.
Packer also hooks into existing configuration management tooling, so we can take advantage of tools such as Ansible, Puppet and chef. In this blog we are going to build Ubuntu images that include latest patches, have been hardened to reduce common attack factors, and pre-configured for our application needs.
Getting to know Packer
What is Packer
Packer is one of the tools offered by HashiCorp. HashiCorp tools have greatly changed the way we build infrastructure by bringing automation to areas of infrastructure that have previously been managed manually.
Packer is just one of these tools. Packer does not need any of the other HashiCorp tools to operate. They all focus on a single area. Packer's focus is automation of image creation. This can be images both for use in the cloud or in on-prem virtualized infrastructure.
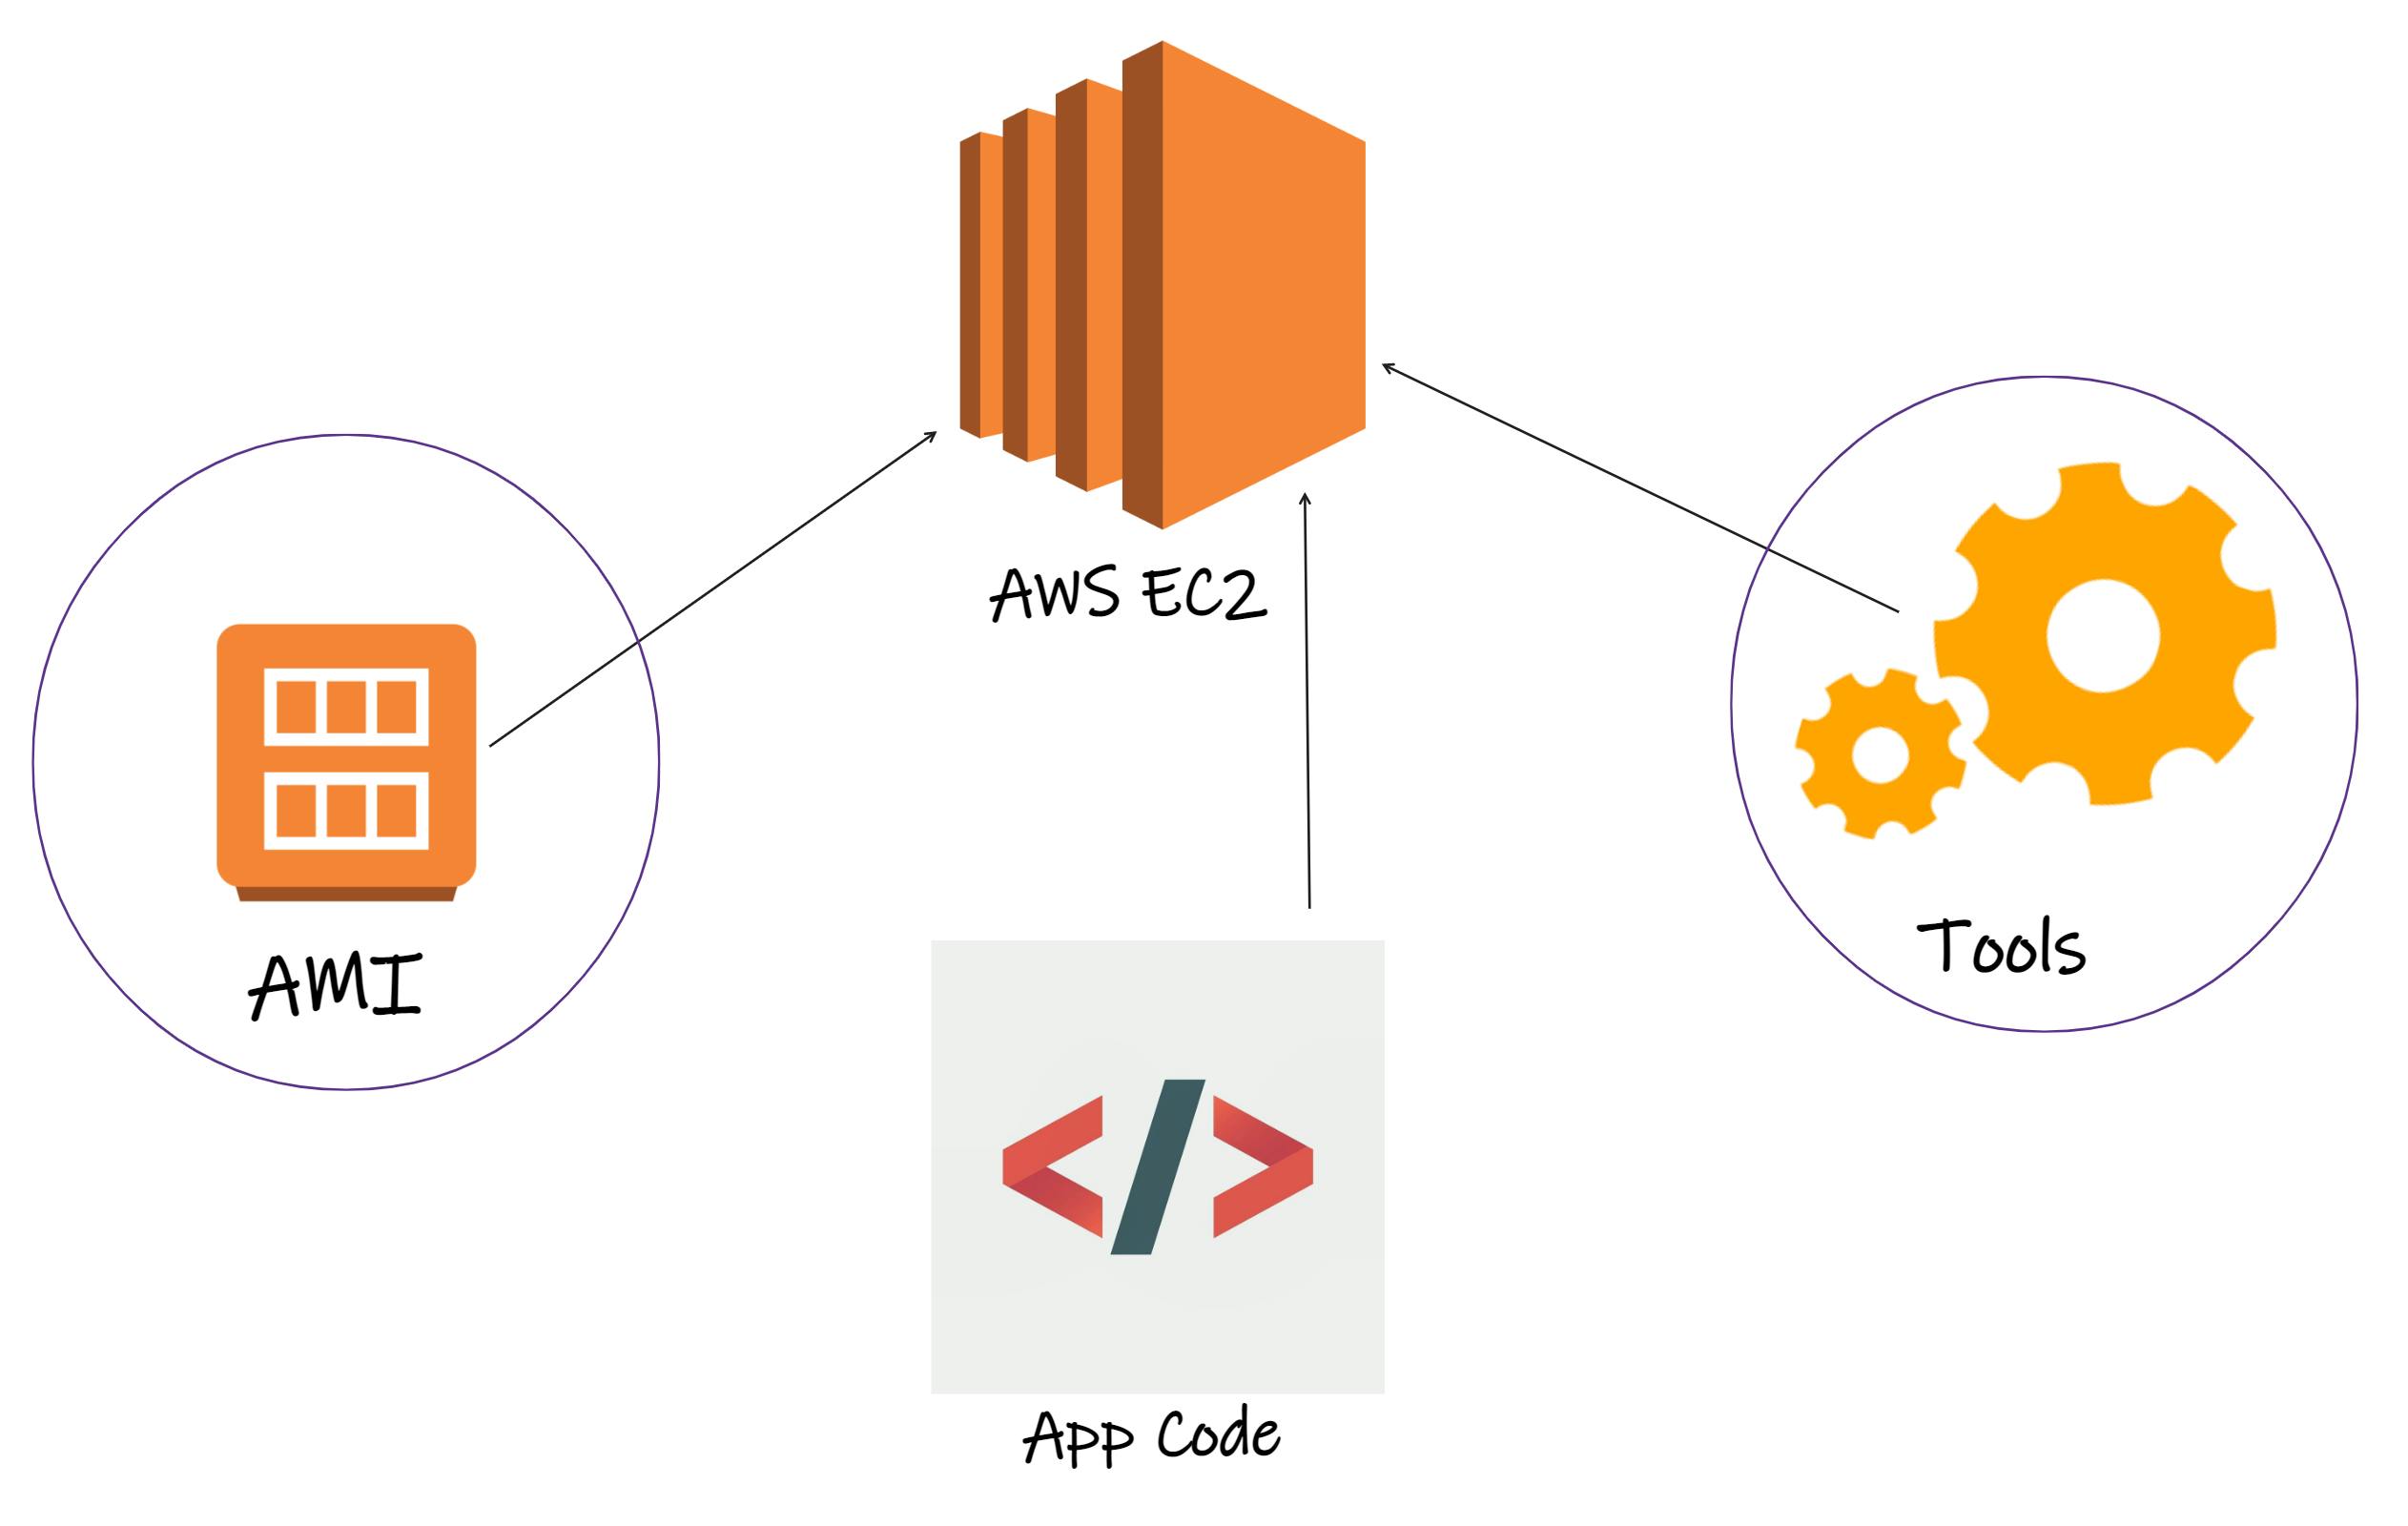
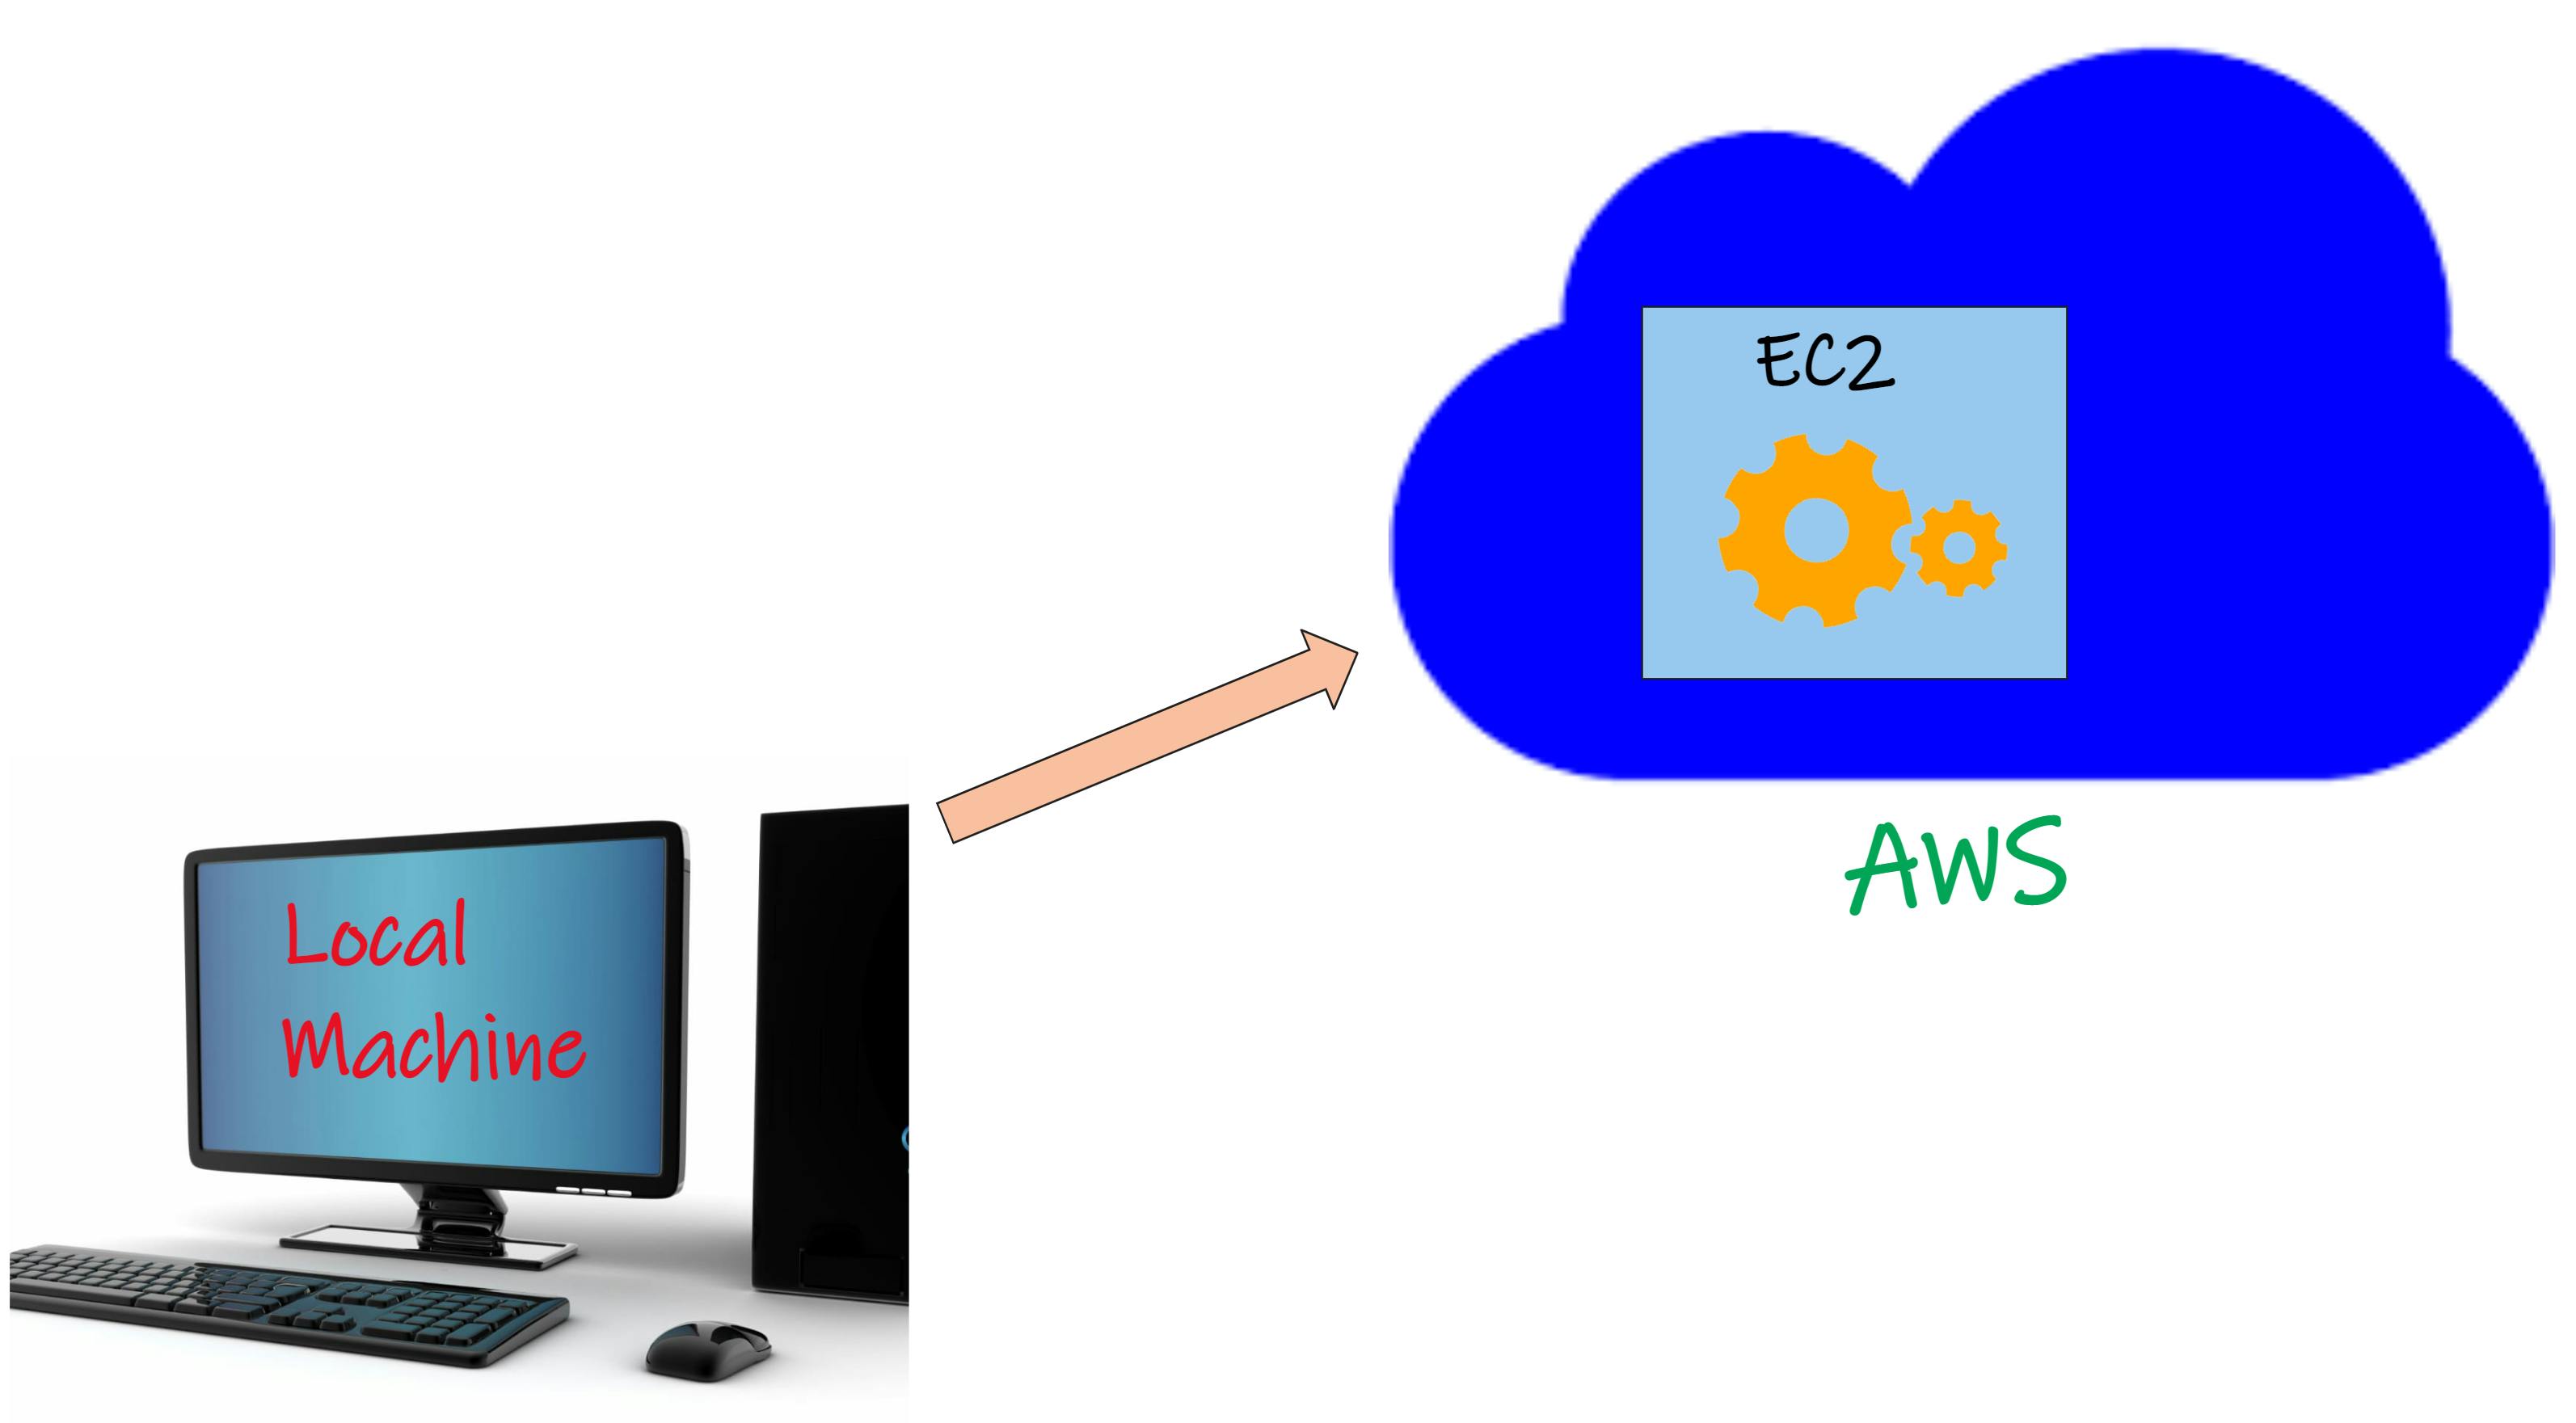
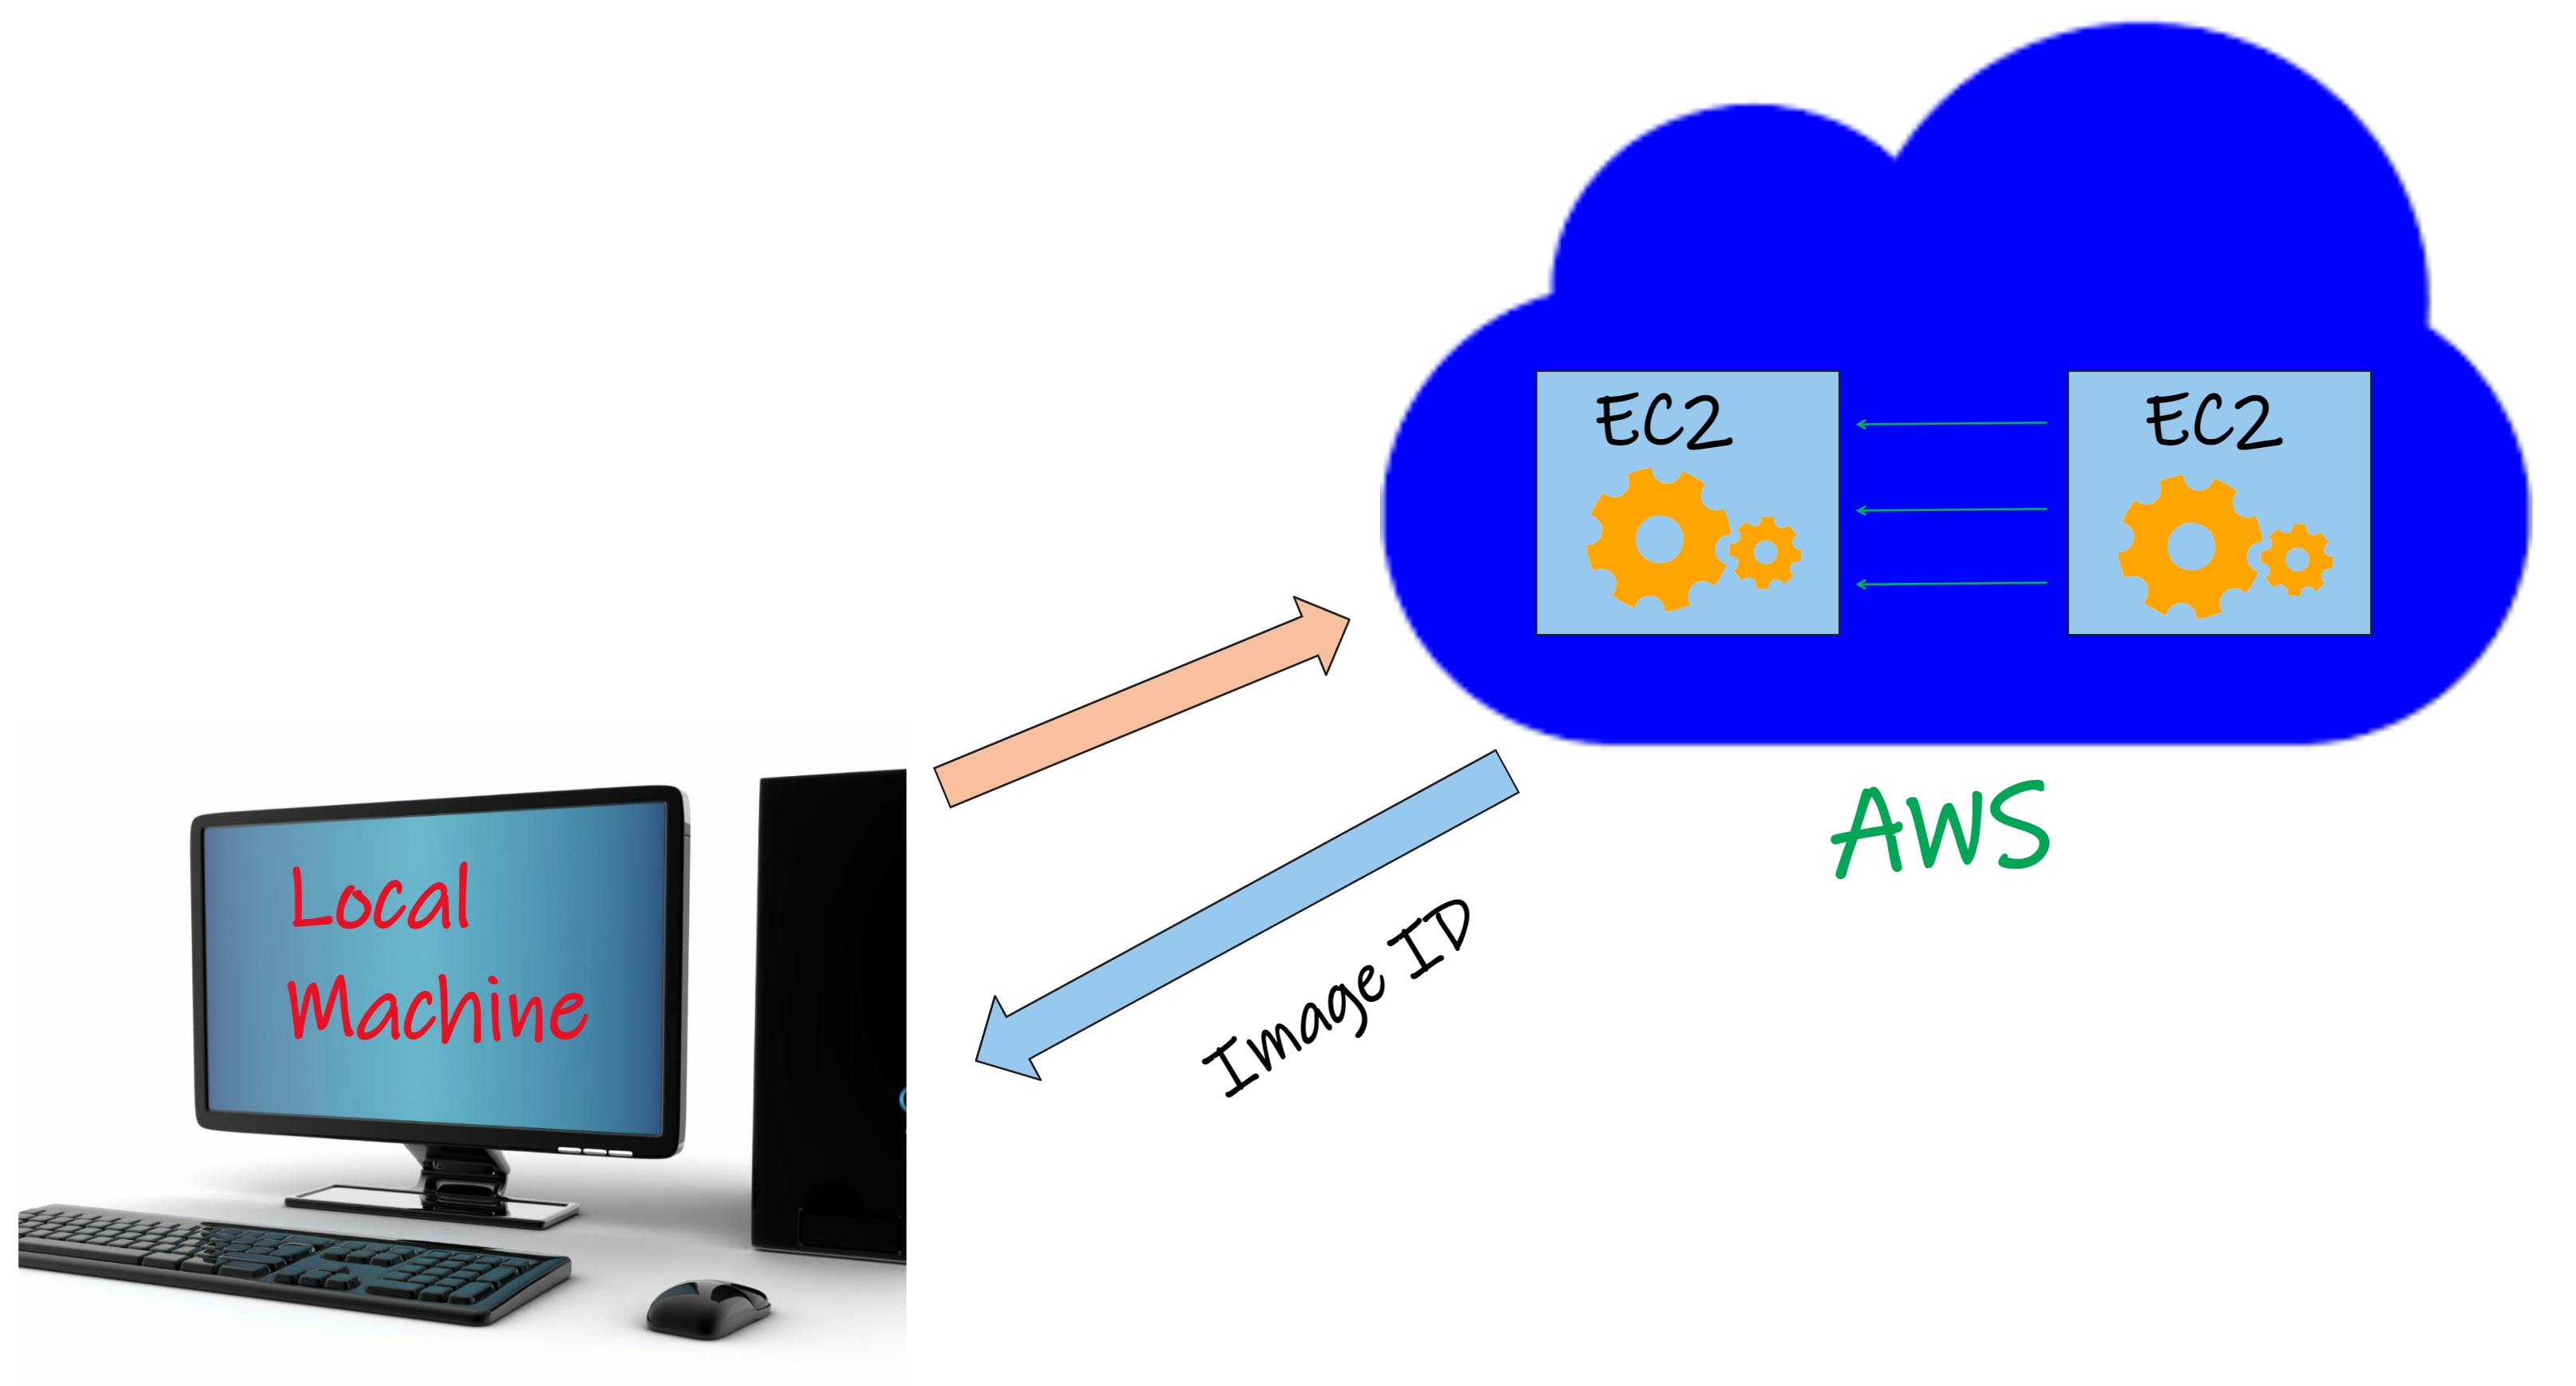
Let's take the example of a basic website hosted on multiple EC2 instances.
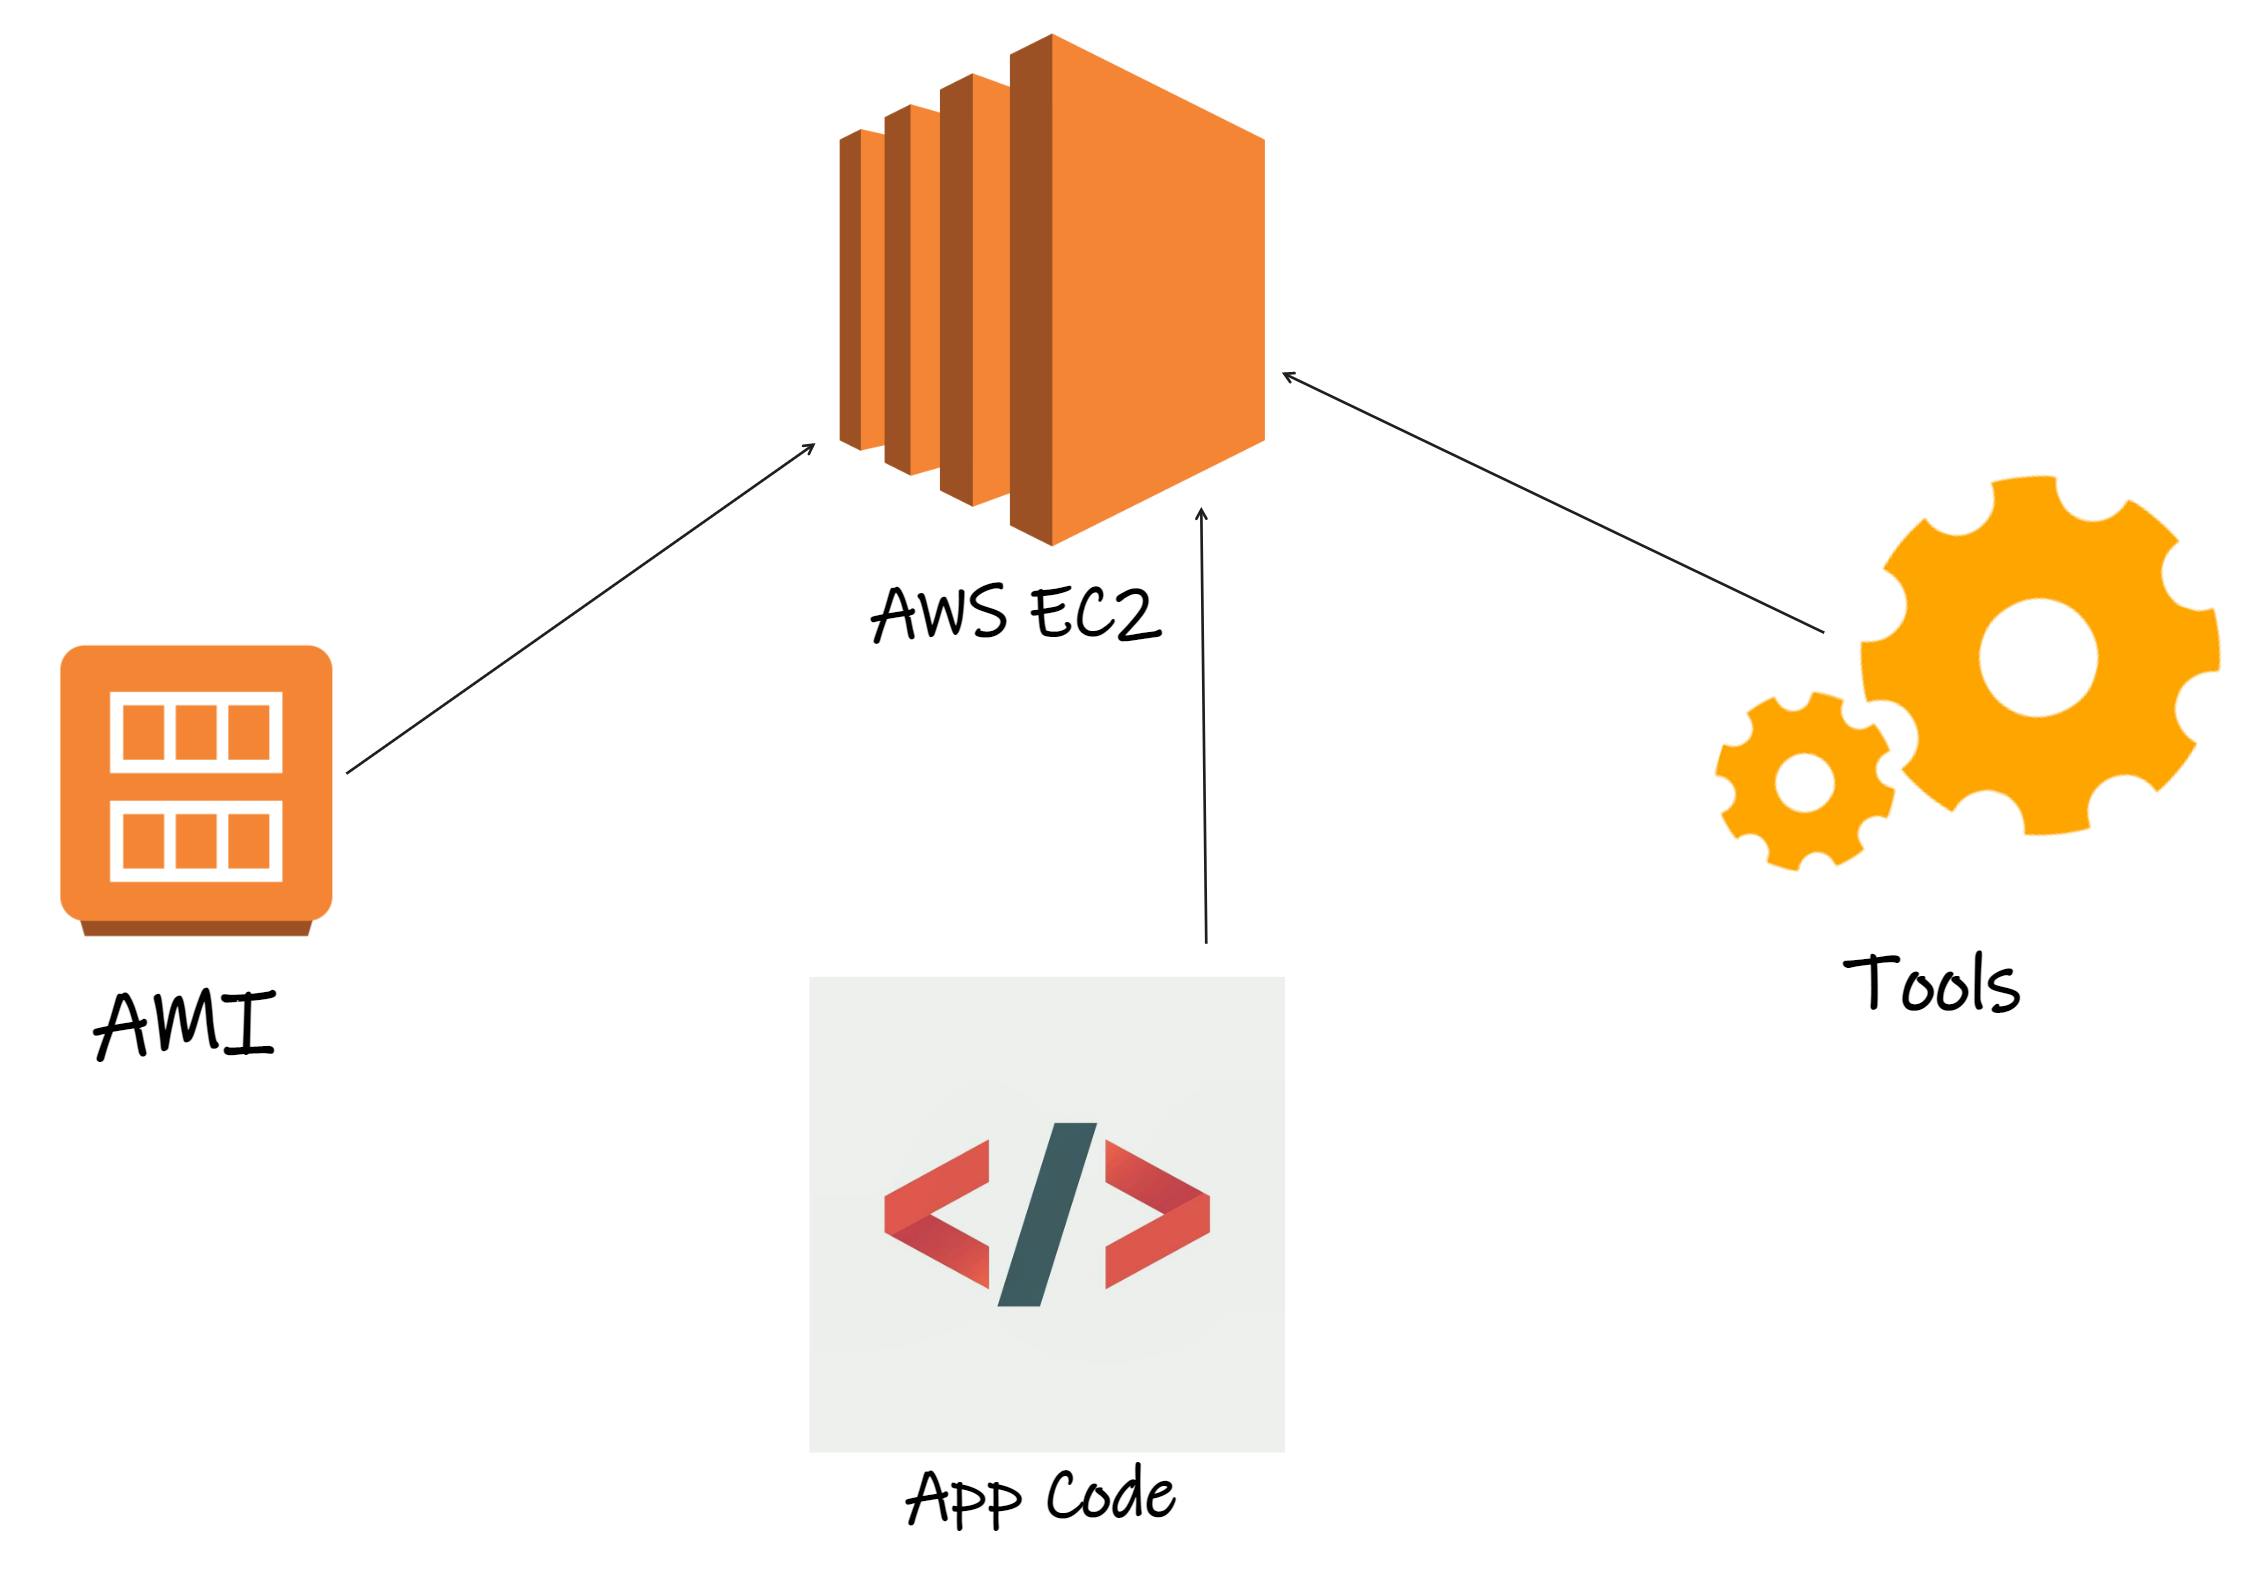
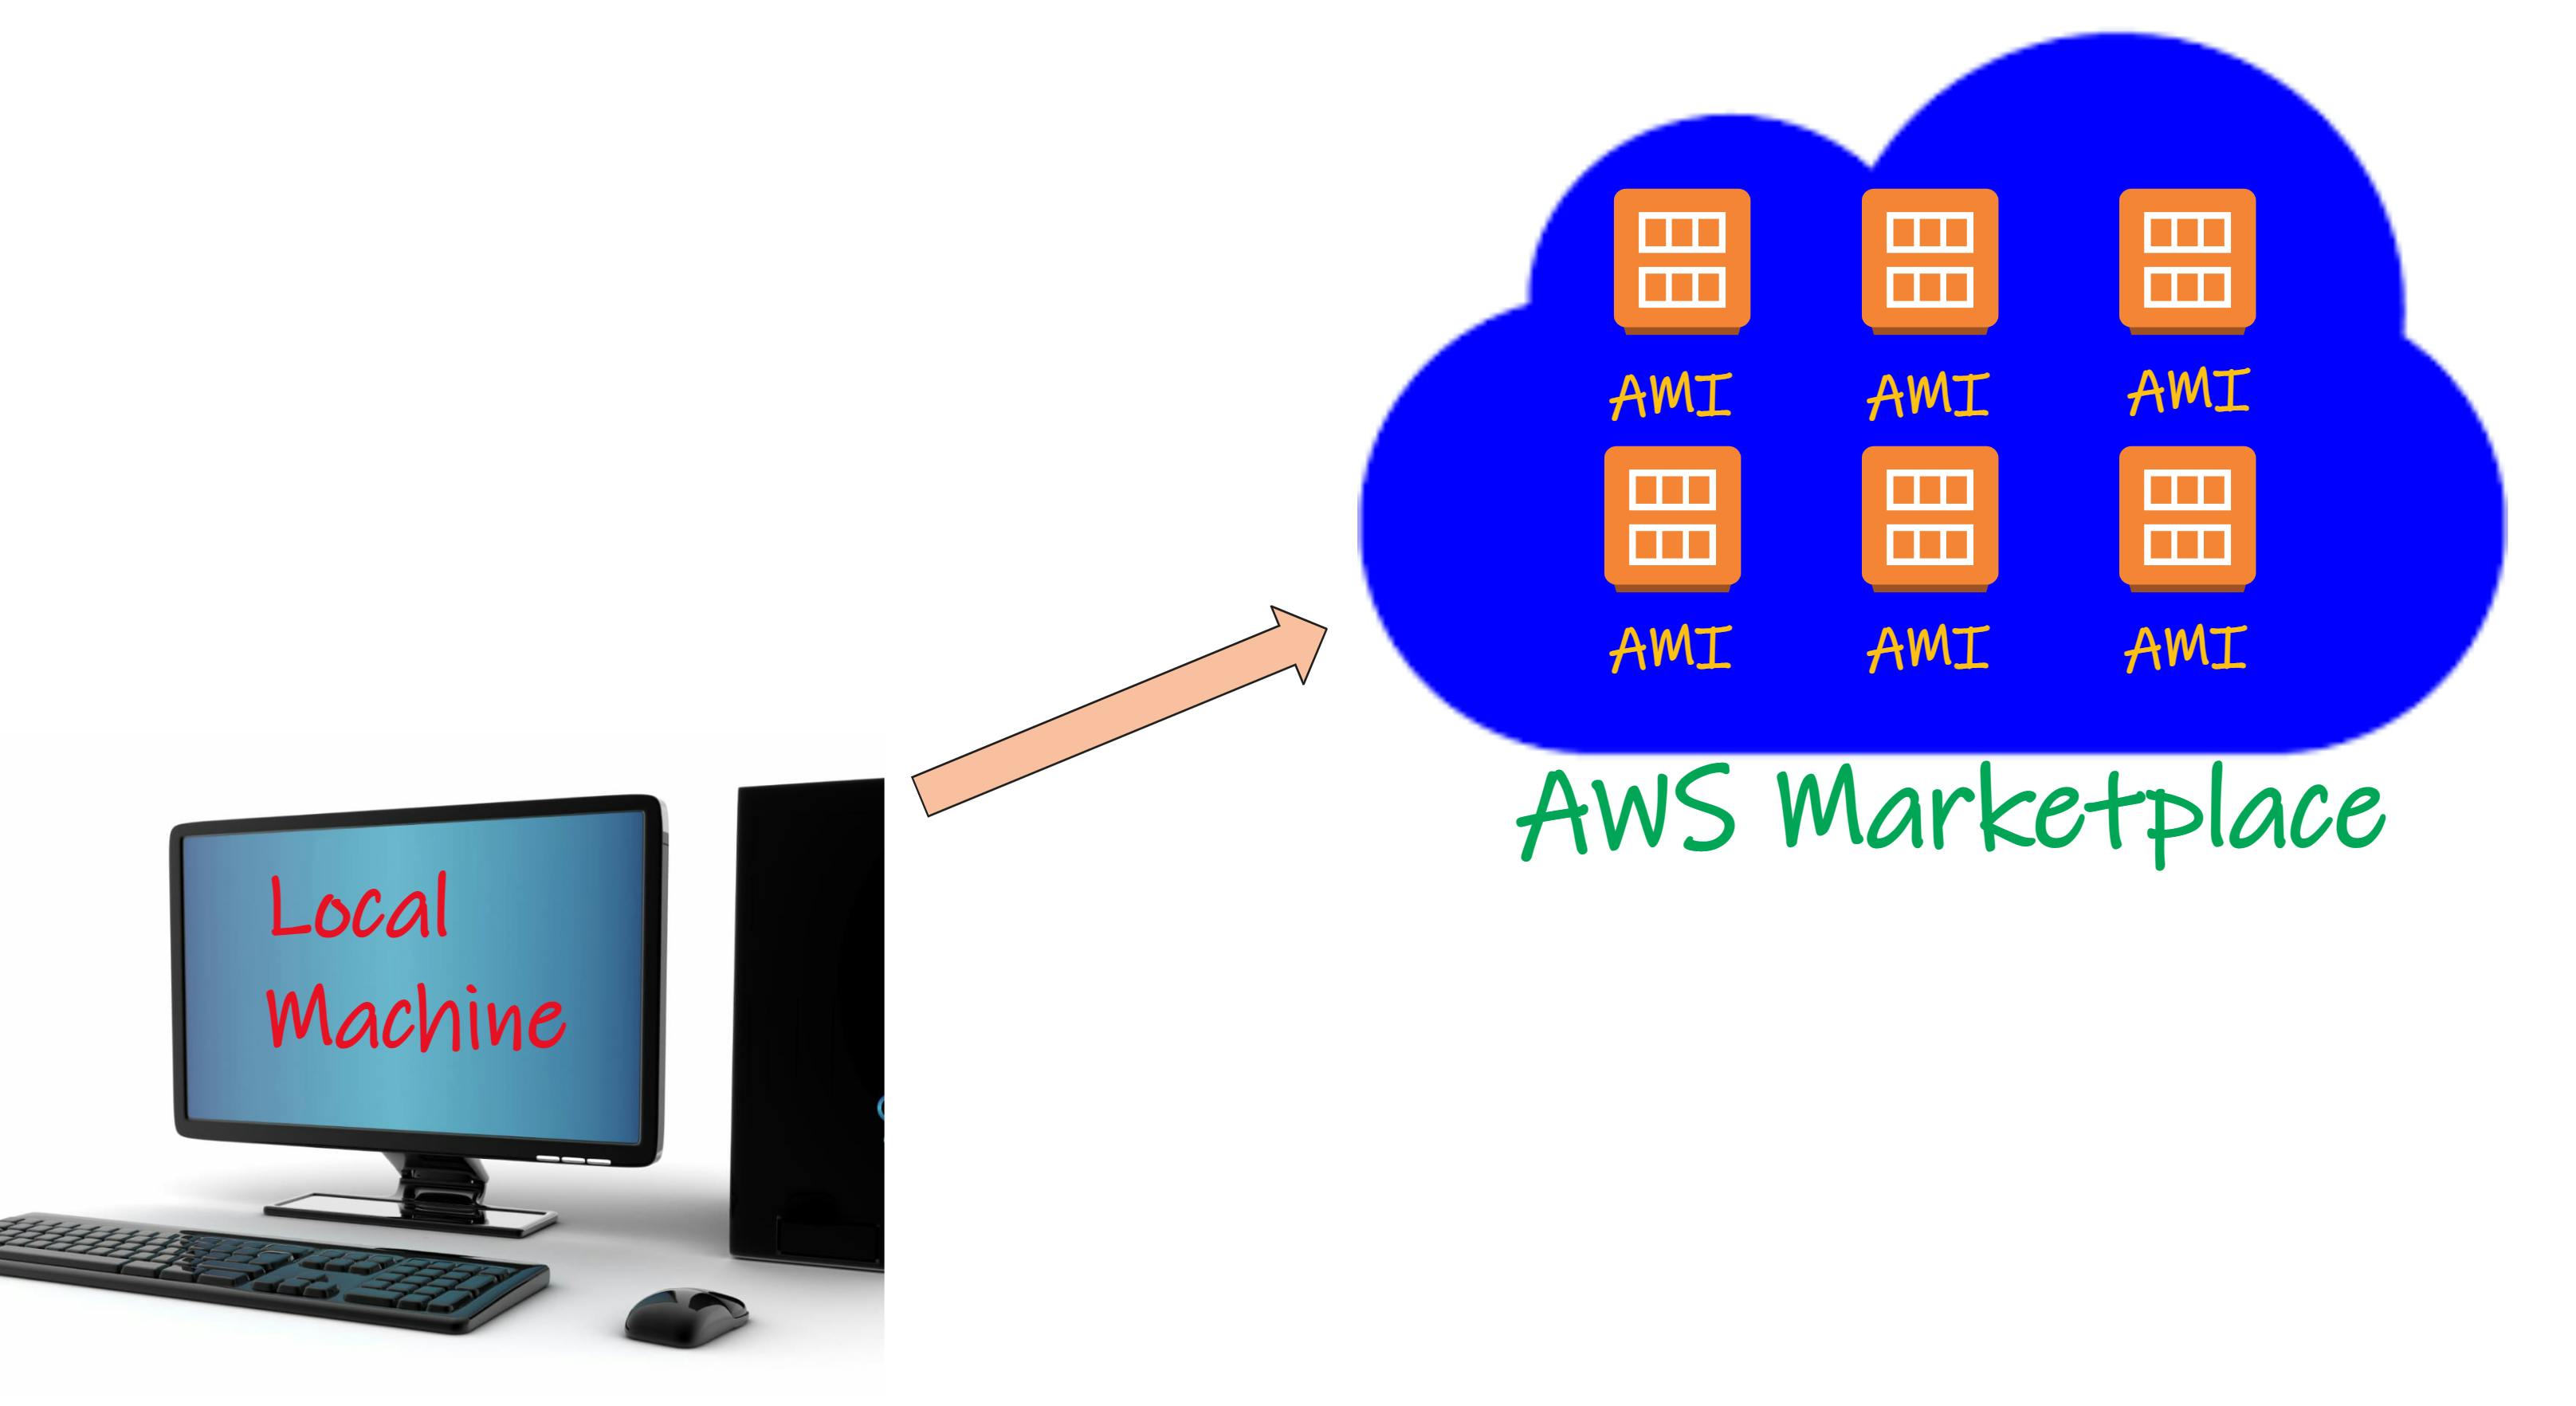
First we select an AMI to launch, and this may be one of those provided by the Operating system creators, such as Windows, Ubuntu or CentOS. These and many other images are made available to the public on Amazon's AMI marketplace.
We will launch that image and then configure it to our website' purposes. We will install tools, and we need to run it. So that would maybe a language runtime such as node or Ruby or extra tools for monitoring and logging. And after that we will upload the website code itself.
The customization and tool installation is a standard step that we'd have across whatever web application code we installed. We can reduce deployment times and uncertainty by pre-installing this tooling and backing up the image.
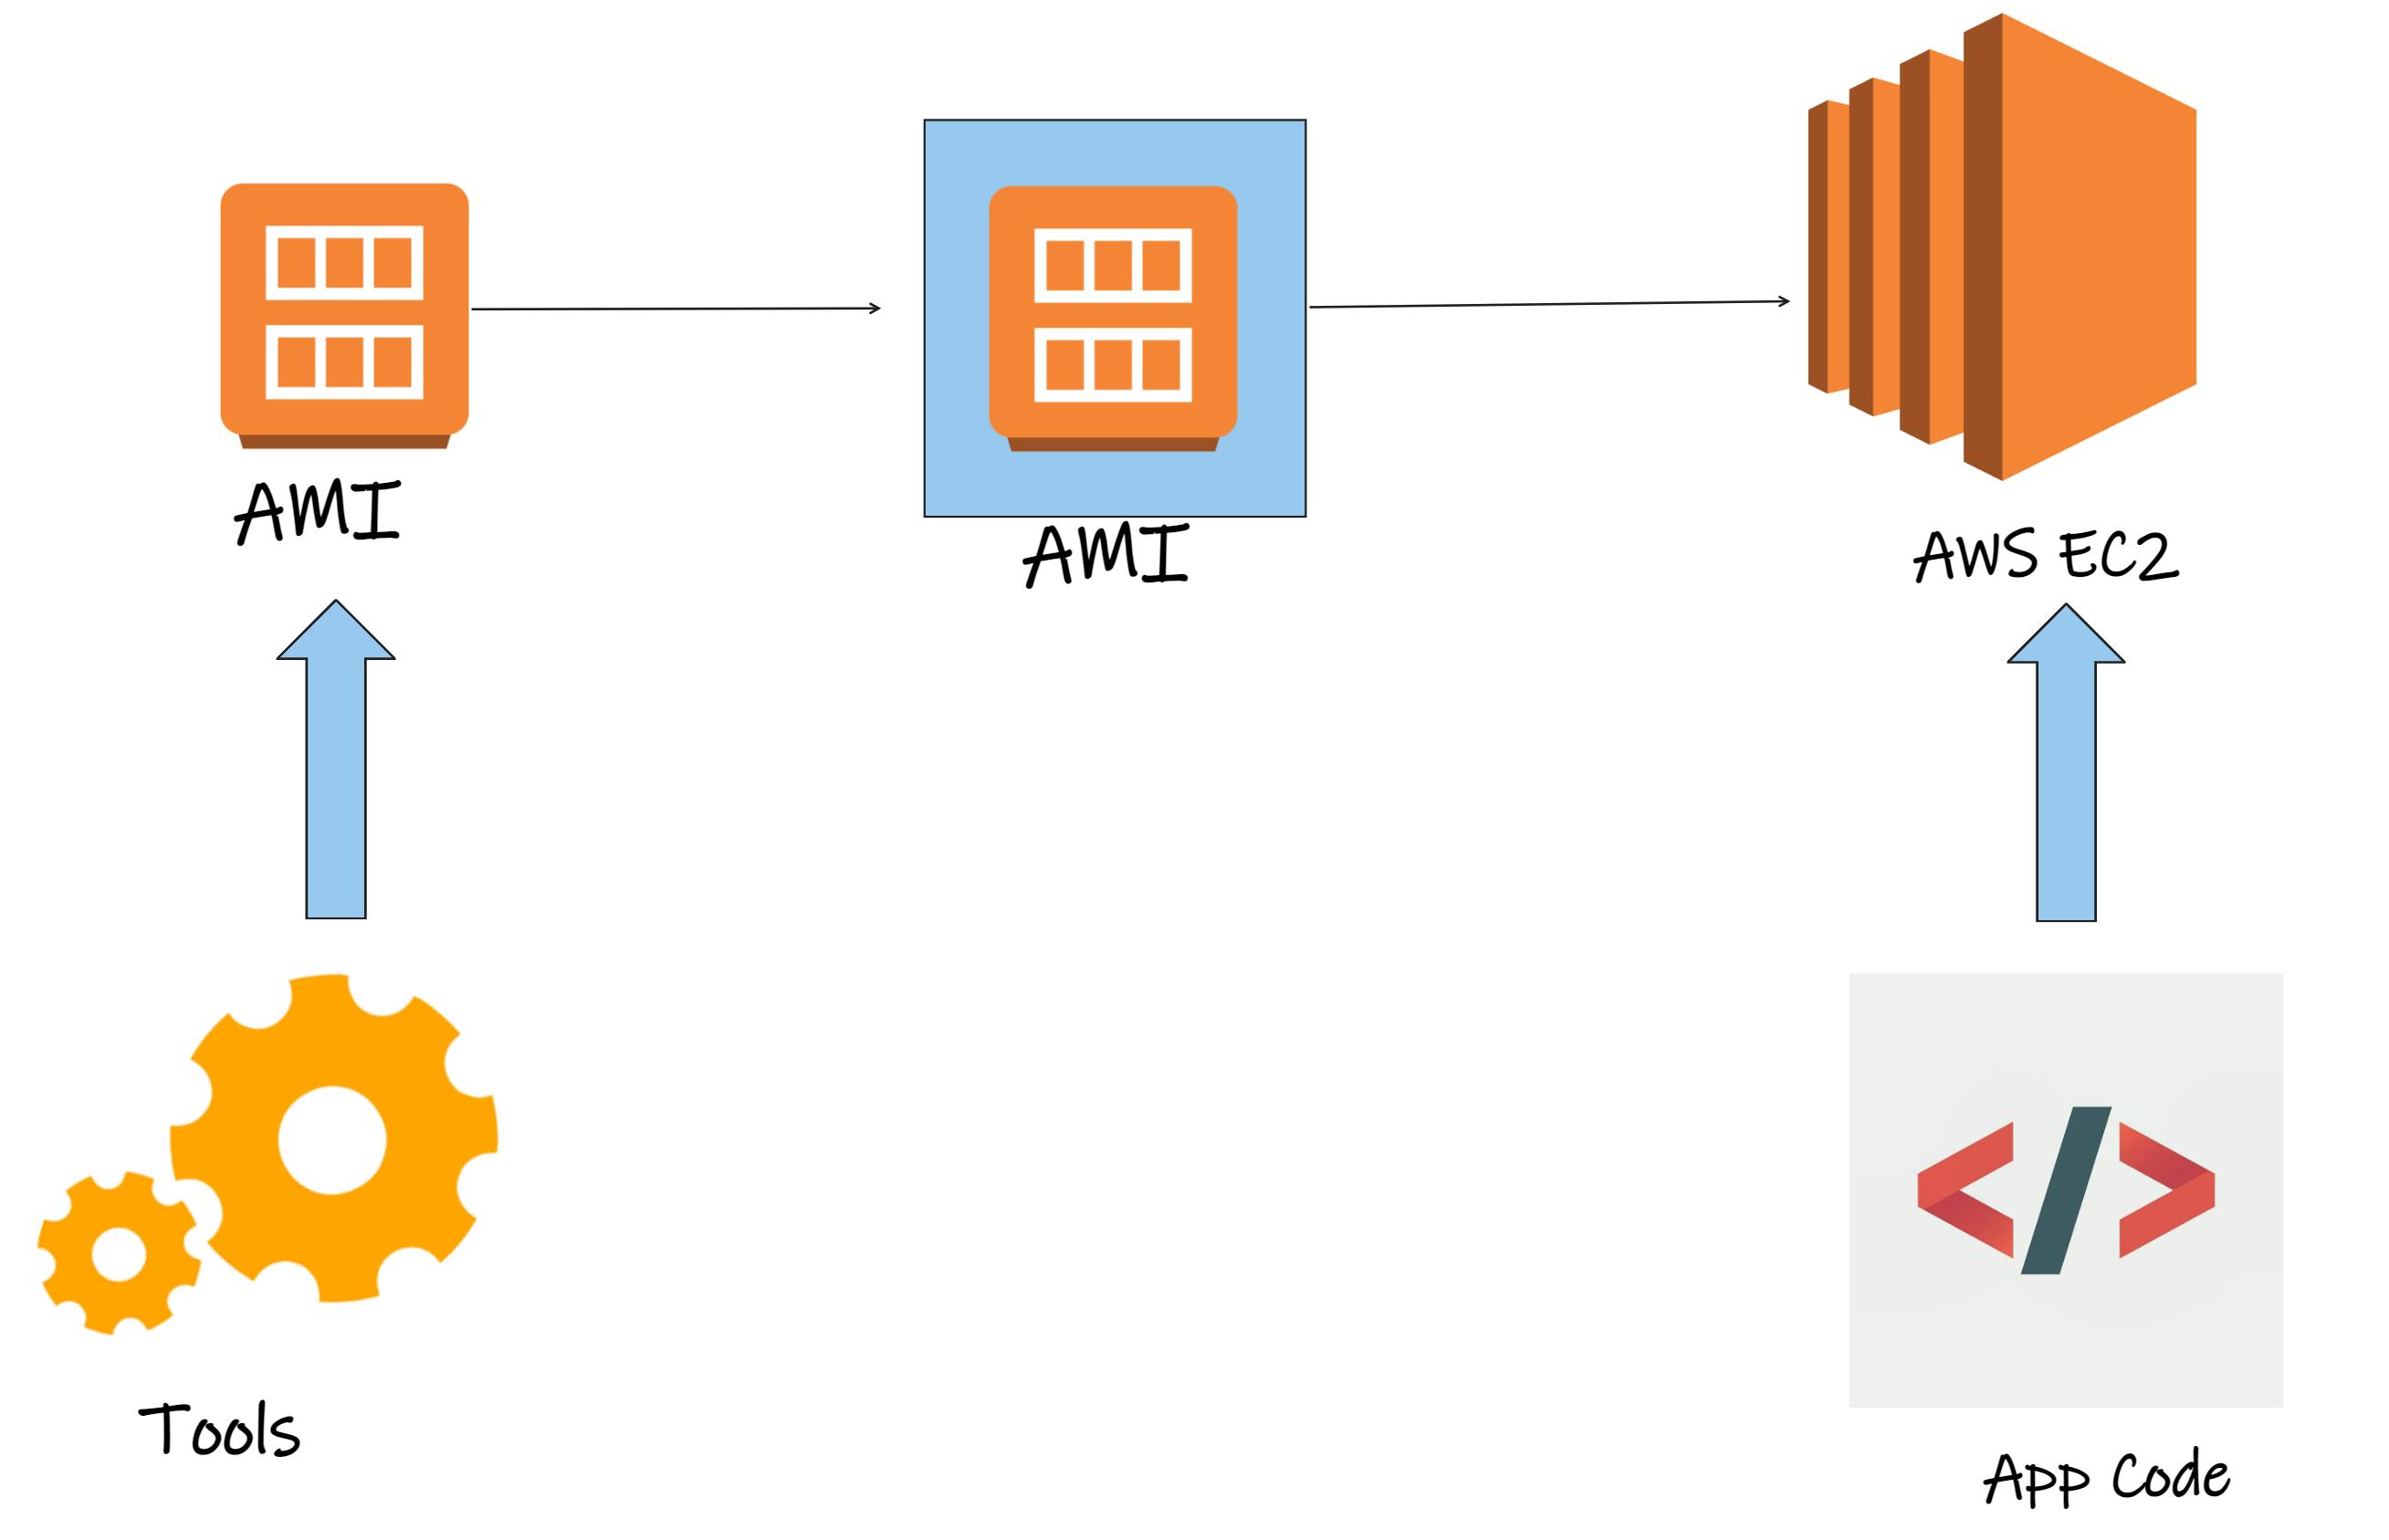
First we launch that basic image from Marketplace, manually customize it by installing our tooling, shut it down and take an image.
We can then use that image to launch the EC2 instances and upload our application code onto it.
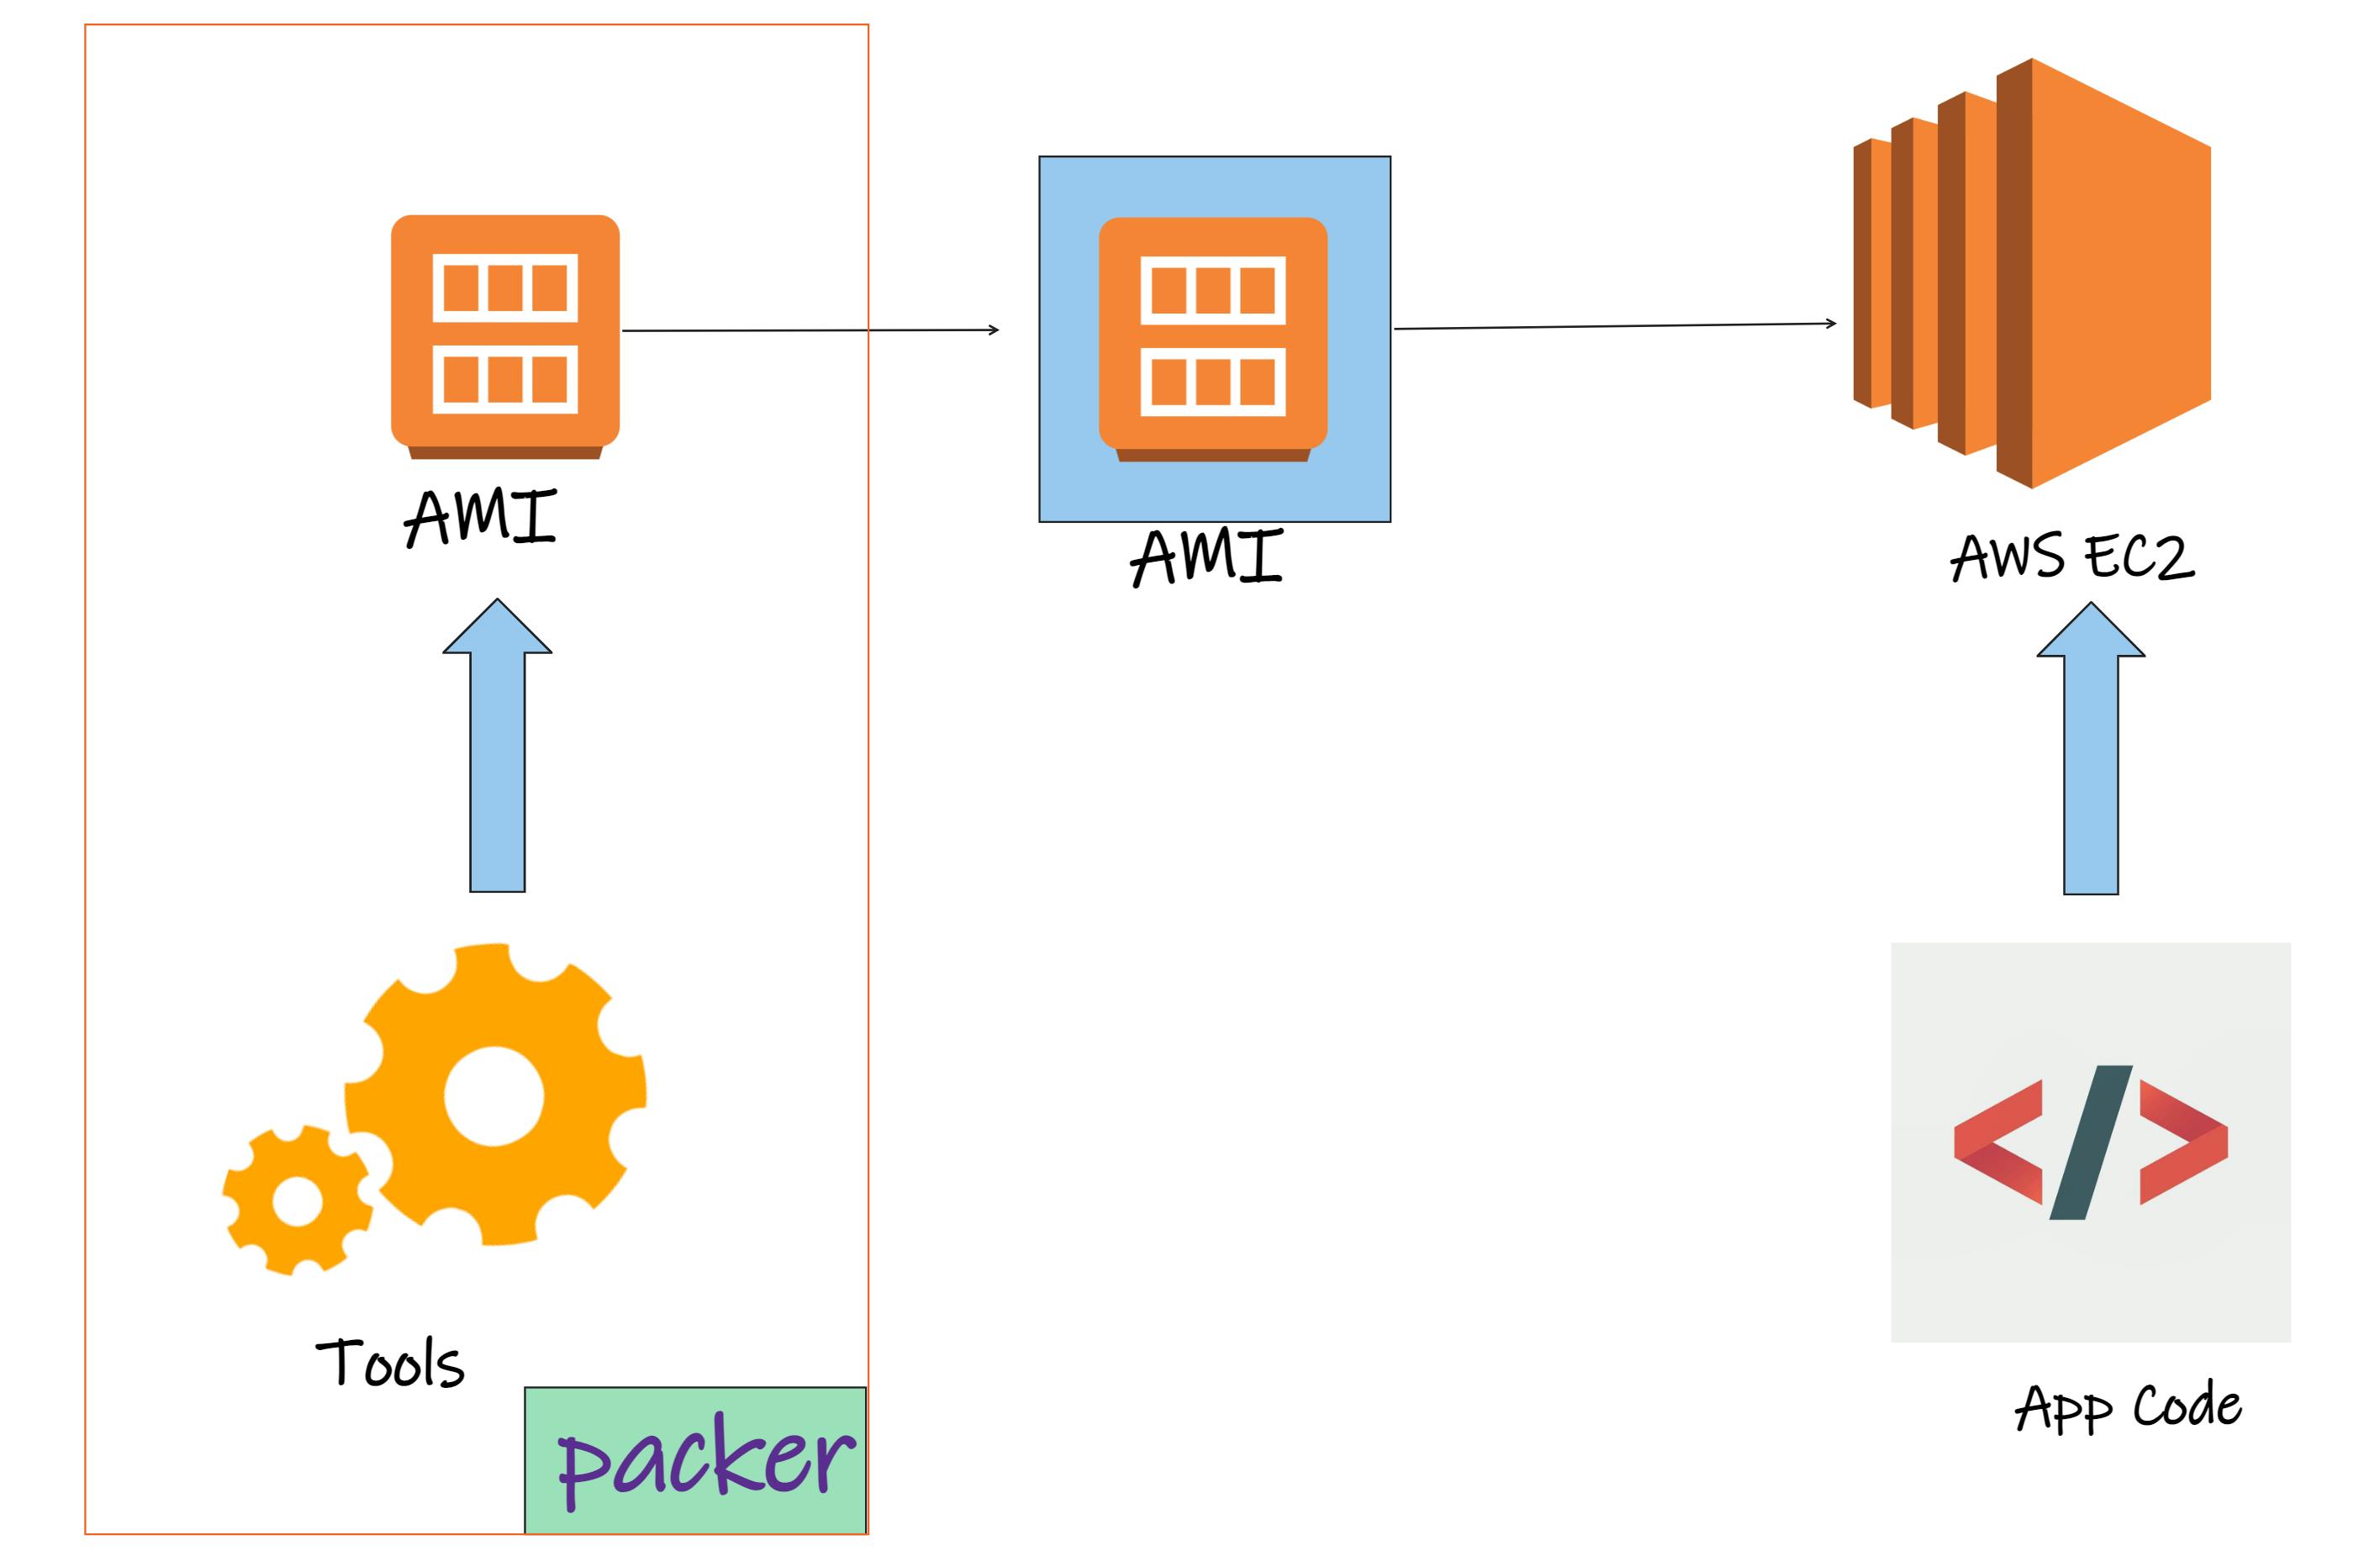
Packer automates that customization and image creation process by automating it, we take away manual, error-prone element and replace it with a deterministic, repeatable process. We can also commit the packer templates to source control, thereby giving us a historical log changes and ability to reproduce the image created with previous version of the template. We can further build the packer build by hooking it into CI pipeline and building new images upon each template change.
SO,
Packer automates the creation of customized images in a repeatable manner
Installing Packer in windows using Chocolatey
To install packer in windows we can use Chocolatey package manager
Step 1 :- open PowerShell and run command choco install packer
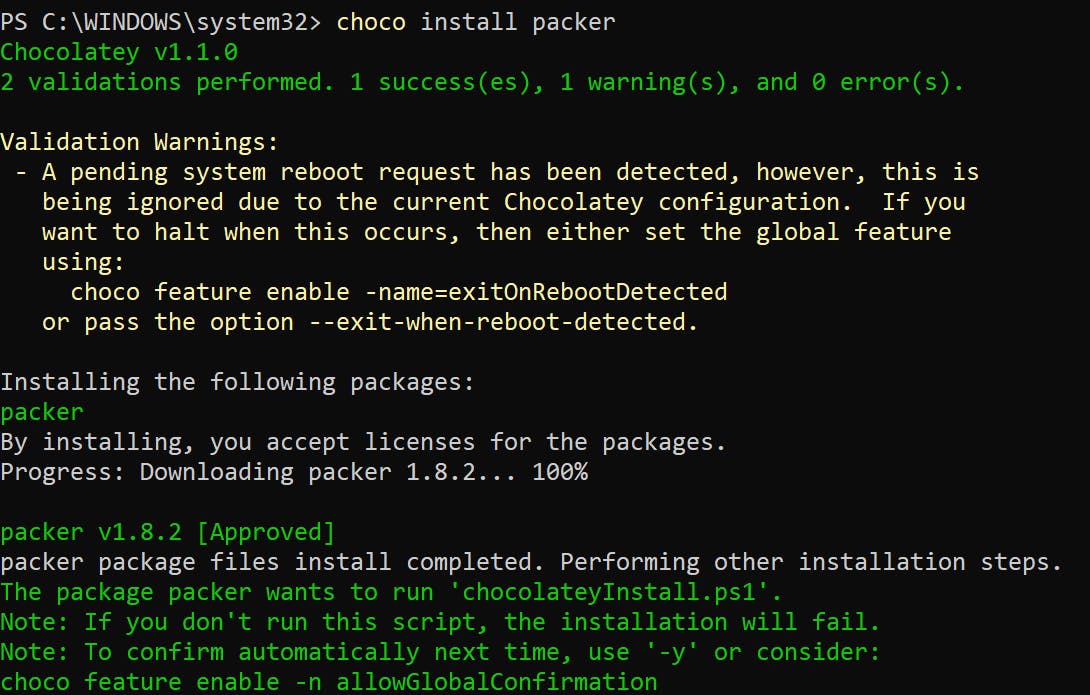
Step 2 :- Pass yes if prompt to
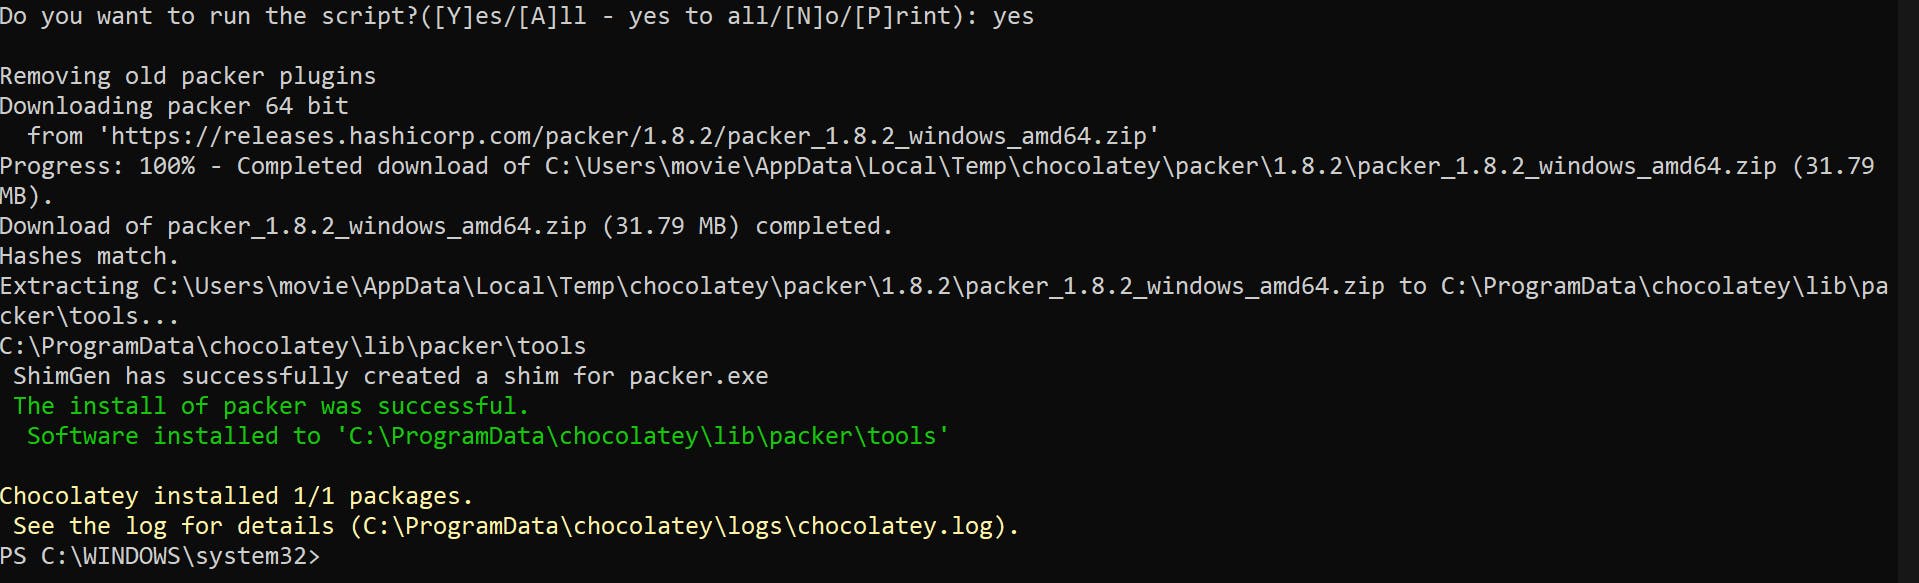
Step 3 :- Check version of packer using packer -v to ensure packer is successfully installed

The Packer Workflow and components
One of the packer's main use case is to create images for cloud based services. As such, Packer doesn't start from installing an operating system.
It starts from an existing image. One which is, as though, the operating system has just been freshly installed. If using AWS, this could be an image supplied by amazon themselves via the marketplace or by say for example canonical.
Packer will take that base image we specified launch it in to an instance and that will be our blank state ready for customization.
Packer will then customize this with our scripts, These can be command line tasks or Packer can call in other tools such as ansible or chef.
Once the instance has finished being customized, Packer will shut it down and take an image of it. Returning the id of this for us to use And this will be our custom image.
Packer templates consists of 3 main components
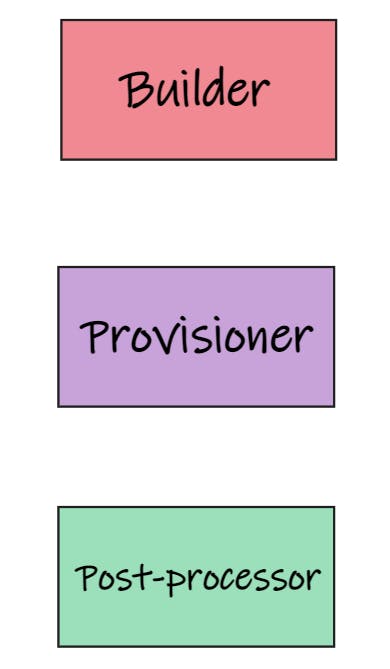
Builders, Provisioner and optional Post-processors, which map the workflow we just described.
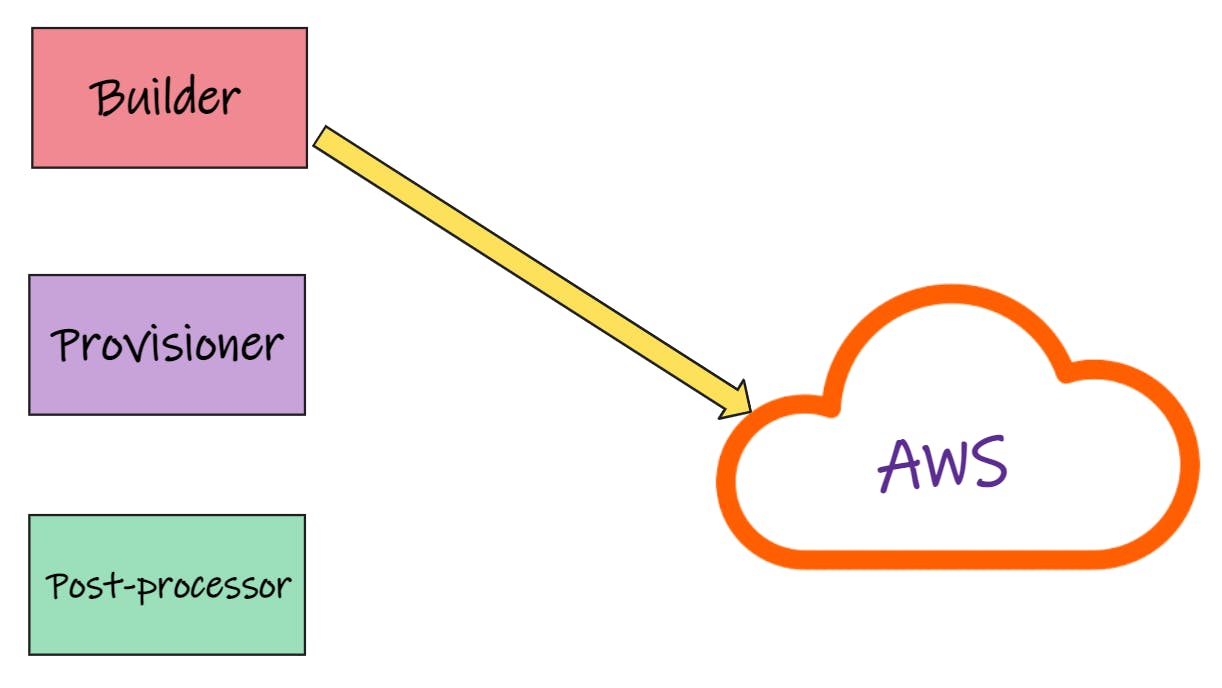
Builder section defines the communication with the service creating image which is in our case is AWS. It contains the idea of the base image to launch and the configuration for connecting to.
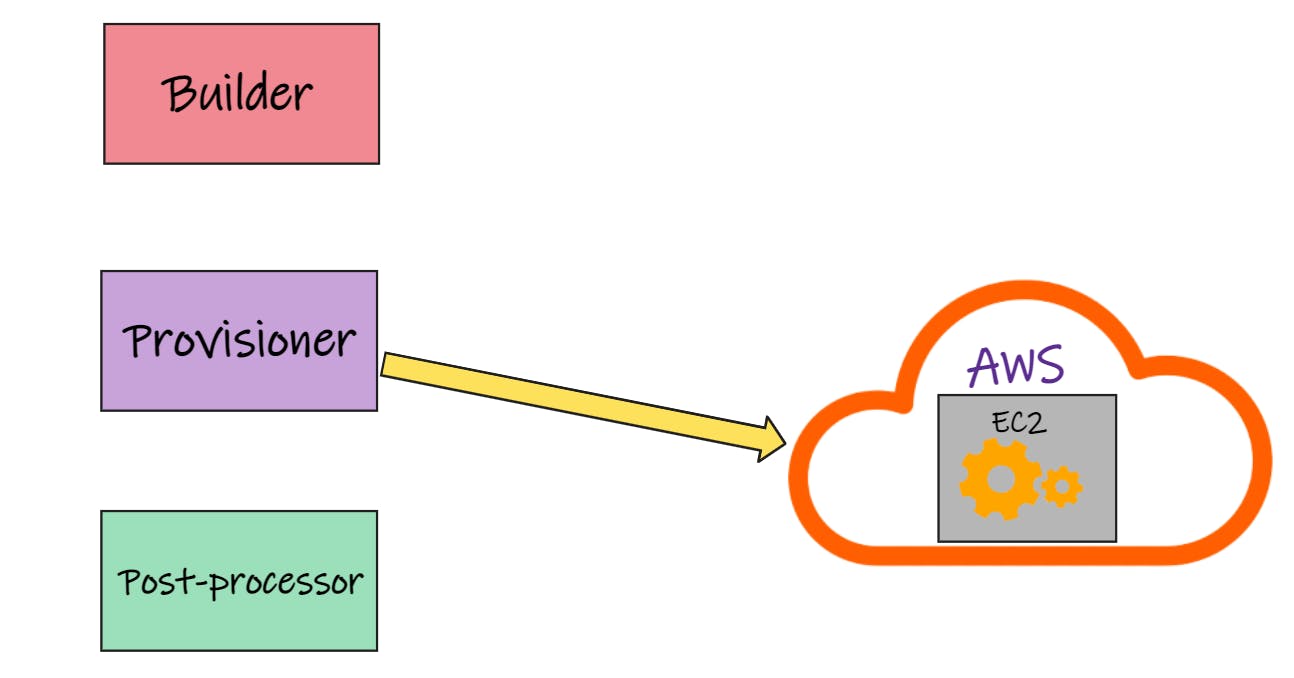
Provisioner section coordinates the customization on the instance that was launched from or base image that we specified in the builder. Customization is performed by the scripts or other tools such as Ansible.
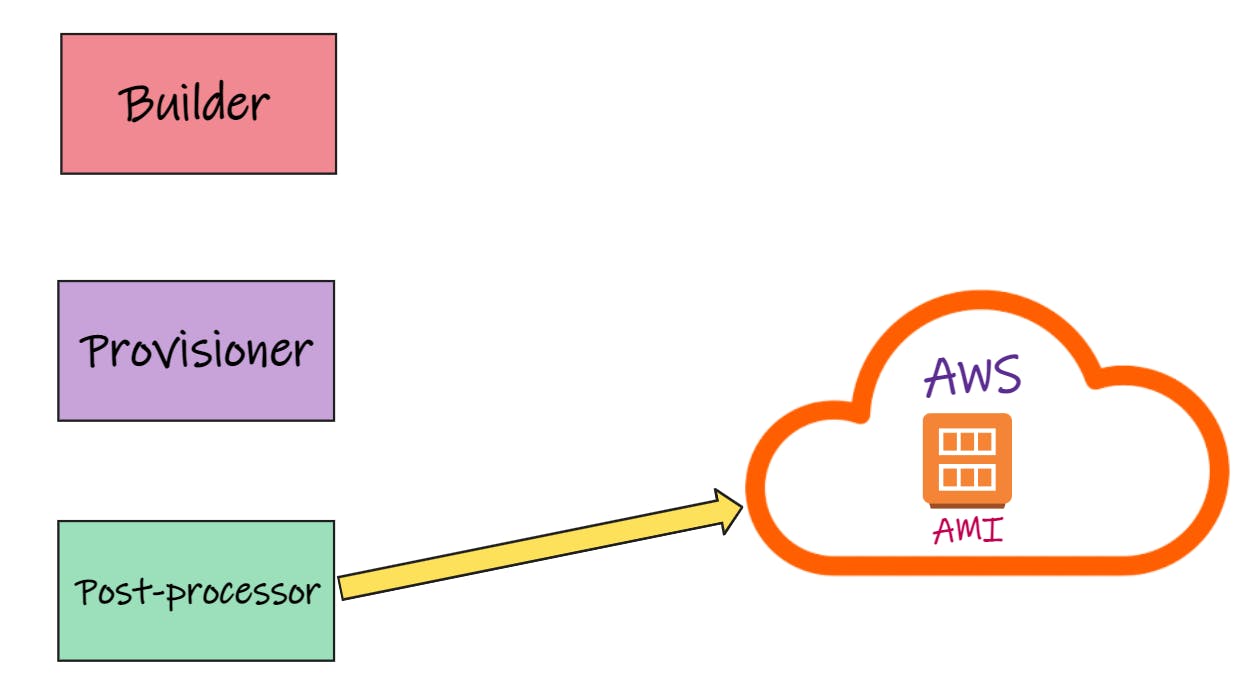
Post-processor section runs extra task to perform after the image has been created for example, showing the AMI ID with other AWS accounts.
Packer CLI
There are only 10 packer commands that we can use.
We can get packer commands by using packer on the terminal

Thank You for Reading this Blog 😊😊